
Sewing the straps is like sewing a belt because it actually is a belt!. Be careful that the threads do not cross in the first stitch where they go over the side. I like to pre punch all the holes and then place the belt loop. This way the holes on the back side is where they need to be and I can adjust the awl when piercing the belt loop. The first side of the belt keeper is easy. The other side is a bit more difficult but I found a method that makes it easier.. Before we come to that I would like to mention the way I go from one side of the belt to the other. Instead of having to use two threads I twist the thread and sandwich it between the leather and continue the sewing on the other side.
Most tutorials suggest that you push the belt keeper out of the way and pierce it from the front side. When I do this the stitching on the back side does not get even. Instead I pierce from the back side using the pre punched holes as a guide. This way the back side stitching becomes nice and even.
The running belt keeper is simple to make. To make it easier you should make this before you sew on the hardware so that you can simply slide it on the strap.
The snap hooks is done the same way but without the keepers.
The total length of the thread needs to be 75 cm.

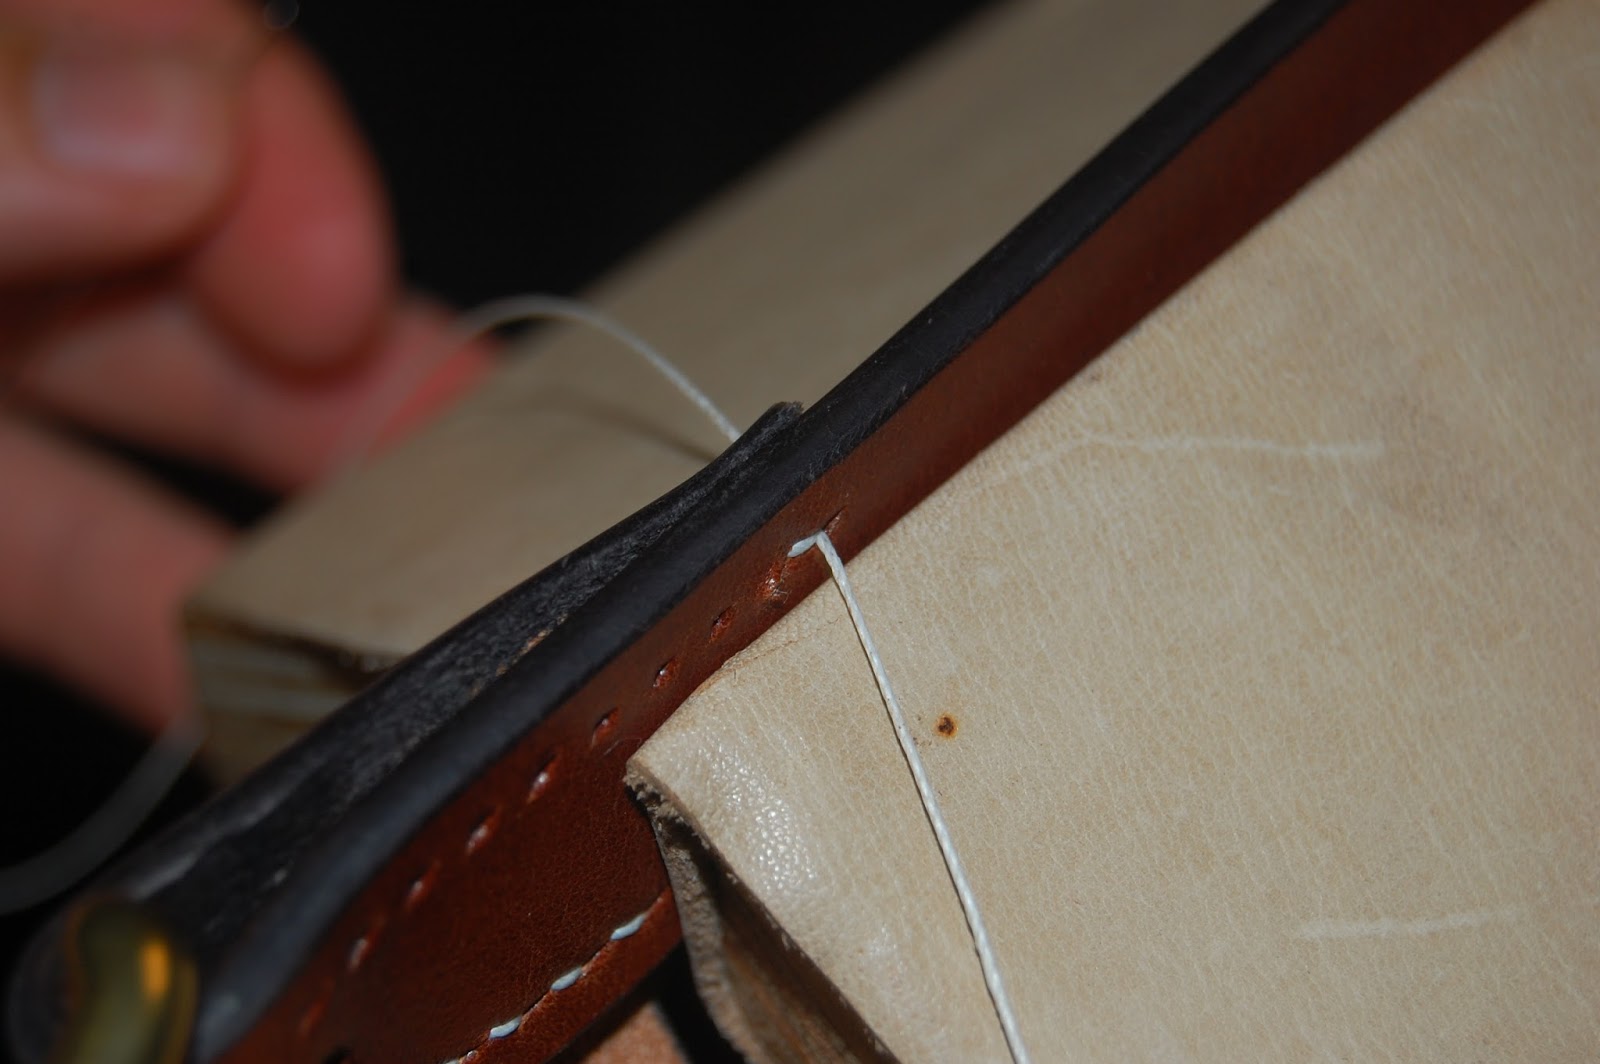
 Pierce all the holes with the awl.
 Insert thread in the first hole and cross them with the right hand thread furthest back.
 Insert the needle behind the thread.
 This is how it should look on the front side when the needle is pulled through.
 Now insert the other needle in front of the thread.
 The needle stays in front of all the threads.
 Slowly pull the threads tight making sure that they do not cross.
 And pull it tight.
 Looks good.
 To have the belt keeper a bit down the strap make two stitches before inserting it.
 Make sure it is centered.
 Now pierce the belt keeper and make sure that you hit the already punched holes
 Don't pull the last two stitches tight.
 Insert the needle one stitch back a pull it out between the two pieces of leather.
 Do the same with the other needle.
 Now you can pull the stitches tight.
 Flip the strap around and twist the thread.
 Insert the needle in the second last hole from the inside out.
 And with the other needle.
 The twisted thread is now sandwiched between the leather.
 Go one stitch back and the forward.
 Insert the belt keeper making sure it aligns with the other end.
 And the it is straight across.
 Here comes the part that I do different. I use my pre punched holes to make a hole in the belt keeper from the back side.
 I did not hit the hole on the front so I pulled the awl out and tried again.
 With the hole made you just continue stitching.
 The thread needs to go through the belt keeper.
 Make the next hole the same way and finish the stitching.
 The stitching on the back is pretty even.
 And on the front also.
 Mark two holes in both ends of the running belt keeper and pierce them with them awl
 Run the thread through like this.
 Place the keeper around the strap. Make an over hand know and pull tight. You can see that I already made another over hand knot to form a reef knot. If you make your keeper BEFORE you sew on the hardware you could sew it and then slide it on the strap.
 Pull tight and cut off the thread.
 The finished shoulder strap.


Hi, Thanks. I have just published a post showing how I burnish. http://andersenleather.blogspot.dk/2015/10/burnish.html
ReplyDeleteI have 10 more post about making the briefcase that will be published in the very near future so stay tuned :)