When I fitted the top assembly I decided to color the inside black as the light color of the leather was showing a bit too much. When putting it back on leave out the metal bar as will be in the way when sewing. Pierce the holes while it lay on the table with cork underneath. Sewing the top strap is like sewing the straps. You just have to be extra careful that the thread does not cross when doing the stitch that goes over the edge. To sew this each thread was cut 59 cm long.
The metal bar cover is simply a piece of leather with the edges beveled and burnished without dye.
With the top straps in place we are ready to sew on the metal bar cover. Dont forget to put on the metal bar and put loctite in the screws. It would have been a good idea to make marks before sewing on the top straps but I forgot. Instead I pierced the leather a few places along the line to se where the stitch would be. I then made a line 3 mm from the holes. Sand where the metal bar cover will be and apply contact cement to both pieces and glue together. Trim the ends and stitch it in place.
Bevel and burnish the edge.
I decided to color the inside black before I sew it together.
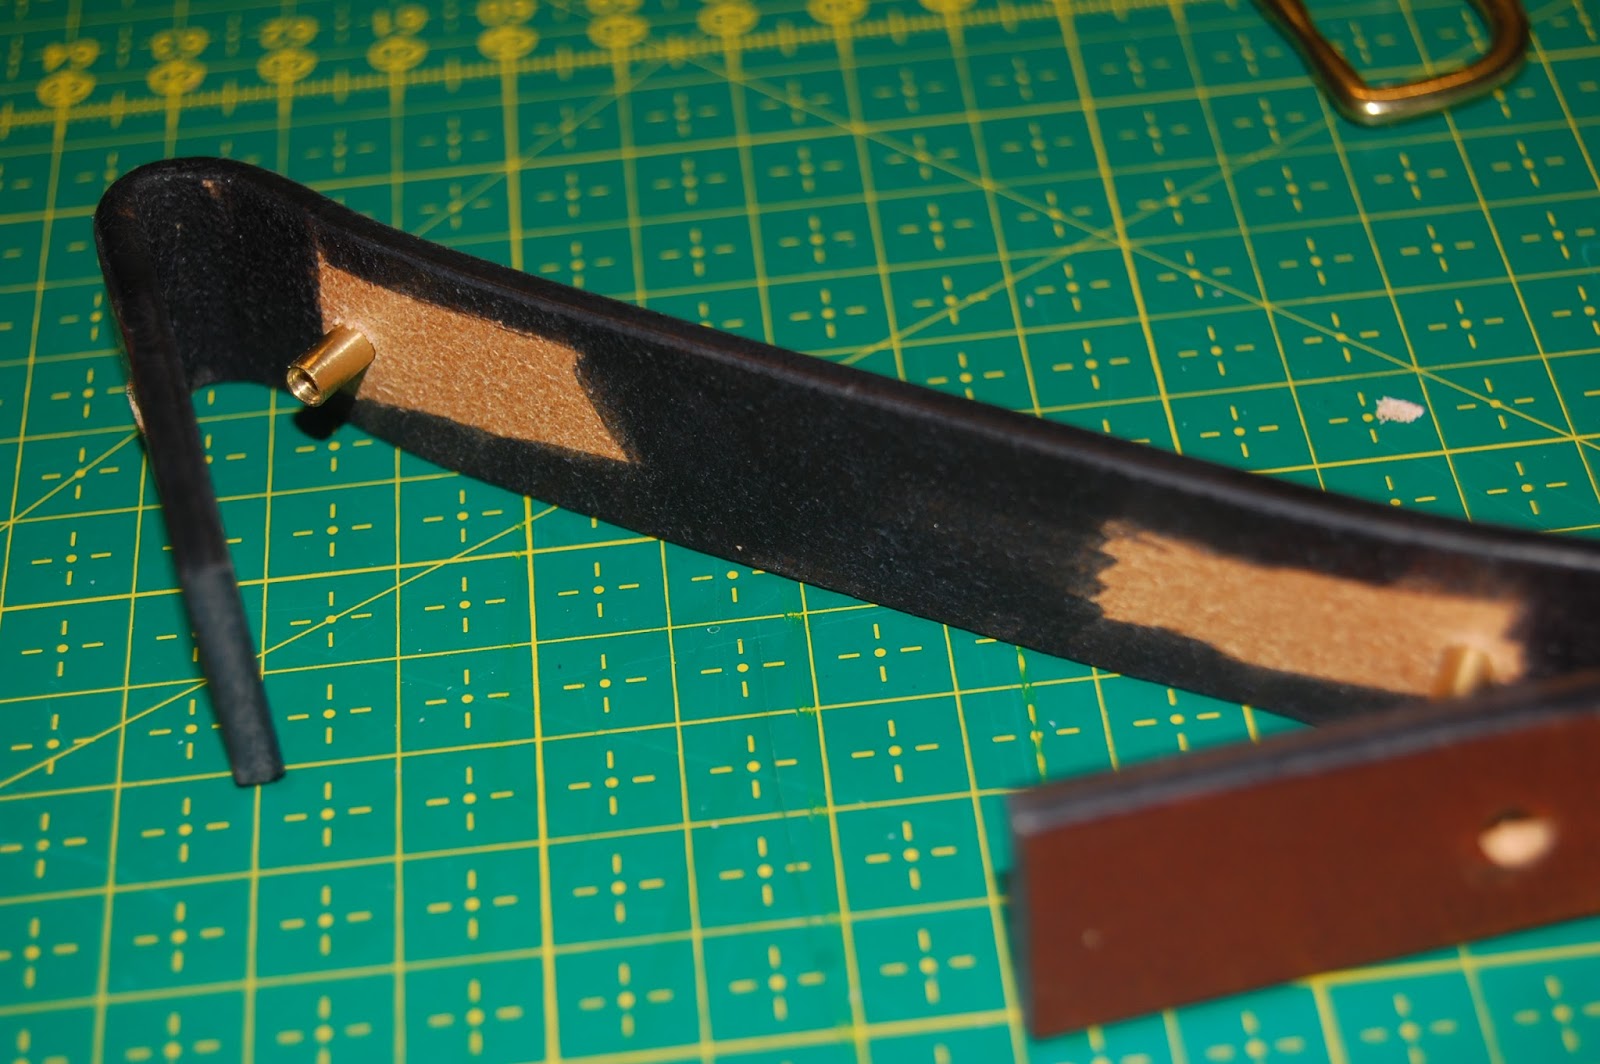
Make the holes.
The two paper clamps prevents the back piece falling over.
Sewing the top strap is exactly like sewing the straps. You have to pay extra attention when sewing over the stitches that goes over the edge.
Make sure that the thread does not cross.
Pay attention to where the thread exits the hole and put in the needle in the same side.
In this case the thread exits the hole under the strap at the right side. Therefore the needle goes to the right side of the hole.
Nice and even with no threads crossing.
One side done. You go through almost 1 cm of leather. This makes it rather difficult to pull the needles through the holes so use pliers when needed. This also means that it takes longer to sew. I think I spend almost an hour preparing the 4 threads, making the holes and sewing this one side.
Both sides done! The other side did not take as long as the first one as I now knew what I was doing. Also make sure that you make the holes large enough so that you don't have to struggle too much pulling the needles through.
The back side. The stitches are not pretty but in the next few picture you see why that does not matter.
Use loctite to prevent the screws coming loose.
Apply the loctite in all holes.
Screw the bar in place.
In order to know where to glue on the metal bar cover pierce the leather with the awl a few times along the line.
Scribe a line 3 mm further out than the hole.
Sand it.
Apply contact cement. Also apply glue to the cover.
Put the back piece so that the handle goes over the table. This makes it lay flat. Put wax paper on the glue and place the cover along the line.
Press it in place with the former tool.
This will make the bar visible.
After it has dried we can cut off the extra length.
Cut of the ends.
Make the holes.
Begin the stitching on the back side of the bag. This way the double stitching will not be on the front side.
Sew until 4 holes from the edge and start with a new thread.
Done!
The back side.
Bevel the edge.


No comments:
Post a Comment
Note: only a member of this blog may post a comment.