

My setup for this is to hold them in place by pressing them up against my cutting board. To prevent the straps from falling on the ground I place a clamp on the tablewhich it slides under.
The beveling is easy as long as your tool is sharp. You should be able to take of the entire length of the strap in one piece.
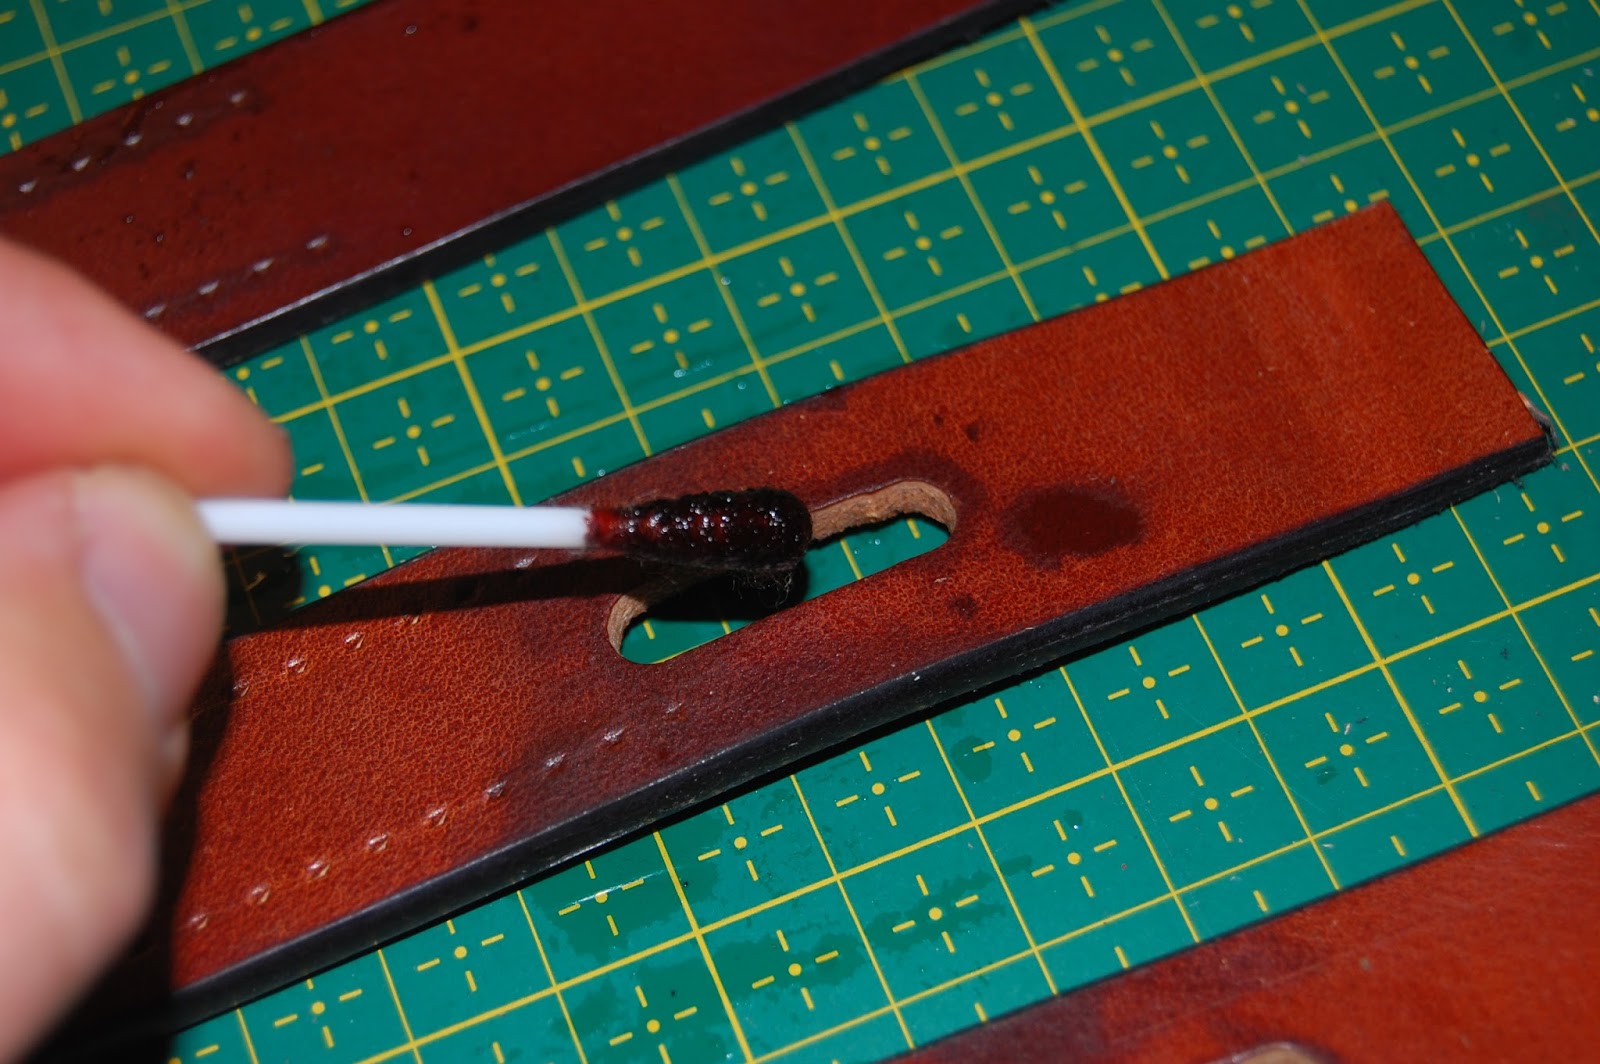
The straps are long so there is plenty of time practicing your burnishing skills! Also you should burnish one end of the strap and on the short shoulder strap you should do both ends. Make holes for the buckles and snap hooks according to the pattern if you use the same size hardware as I do. With the holes in place you should dye them so that they don't stand out too much.
Make the lines for the pricking iron and mark the holes.
I skive the last 4 cm of the straps and dye around the edges especially near the bend. I use black because I had in my marker. If your are very particular you should technically use the same dye as was used for the rest of the leather.
You can now wet the bends and wrap it around the buckles and let them dry before sewing. You could chose to glue them together depending on how you plan to sew them.
The belt keepers are cut with a strap cutter and then skived down from 3,5 to 2,5mm. I don't have a skiving machine so I made my own very primitive one. I wouldn't use it if I had to skive a lot but for these few pieces it got the job done. Be VERY careful around this thing. It will cut you up in a heart beat if you mess around!
Burnish the edges and you can cut it to size using the technique shown in the pictures. I'm always amazed of how short it needs to be but the method works every time.
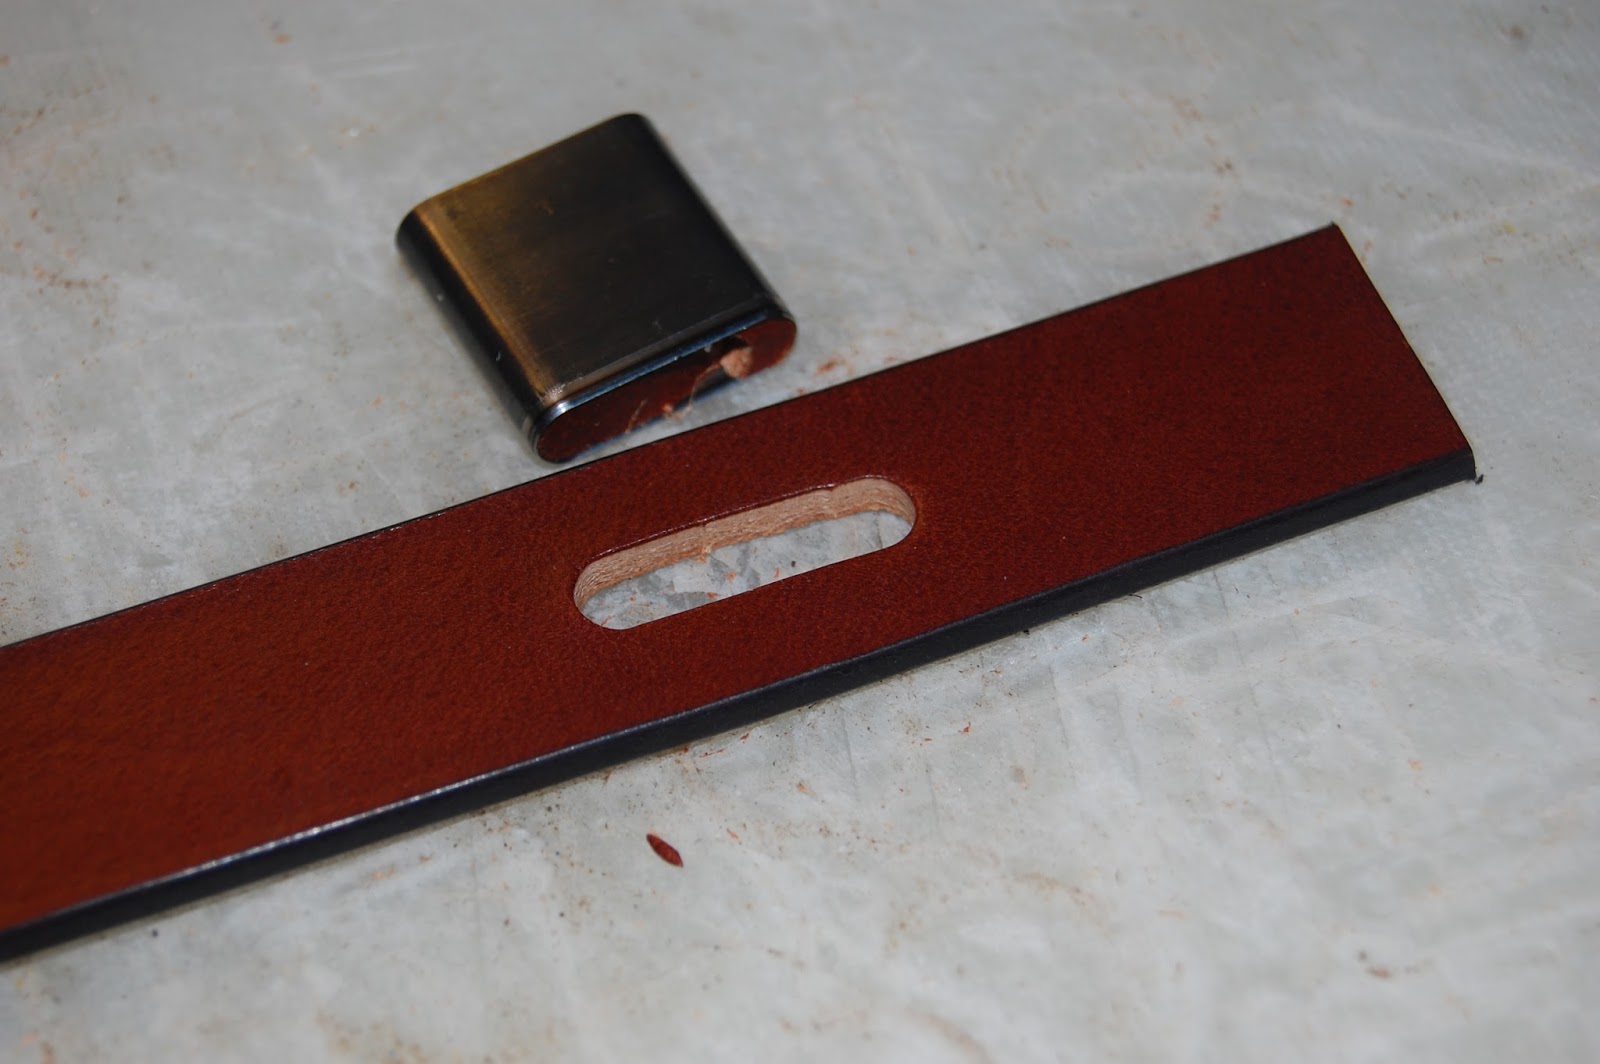
The ends of the straps need to be cut to a point. I chose to simply cut the sides in a bit.
Also the strap needs holes. I find a distance of 2,5 cm between each hole suitable. The pattern shows where the holes should start but you should double check that this fits your bag as well - remember, every bag is unique.
When cutting straps begin slowly making sure that the edges are flush against each other.


The strap slides under the clamp.

The cutting mat holds the strap in place while beveling. The other hand should hold on top of the strap.


Here you see the piece in its complete length.


again


Appreciate you taking the time to put this together...
ReplyDelete