
The universal joints are also a bit loose and the current 3d printed parts are also not without play.
All of these issues could be fixed but one thing that would be hard to change is the fact that the pivot point is not in the center of the blade. This causes the bevel angle to change from the points to the top of the knife. With the current design we a looking at something like 5 degrees which is quite a lot.
The need for a new jig came as I purchased a new round knife. The version 2 is not very suitable for different sizes of knifes and the new one simply did not fit.
Therefore I came up with a new idea which incorporates the best of the two previews versions.
Pros
- Knife blade securely held in place without the possibility for any unwanted movement
- Pivot point in center of blade
- small overall size
Cons:
- A bit cumbersome to shift grinding/honing from one side to another.
- only short strokes with the sandpaper is possible.
- Each knife needs its own platform.
I was playing around with the dimensions while I was building it so everything is cut very rough. Also I have no propper workbench for woodworking and only very limited tools.


The platform has 4 magnets that holdes the knife down. Two nails prevents it from sliding and the pieces of paper fill up the gap as the knife is not completely flat.
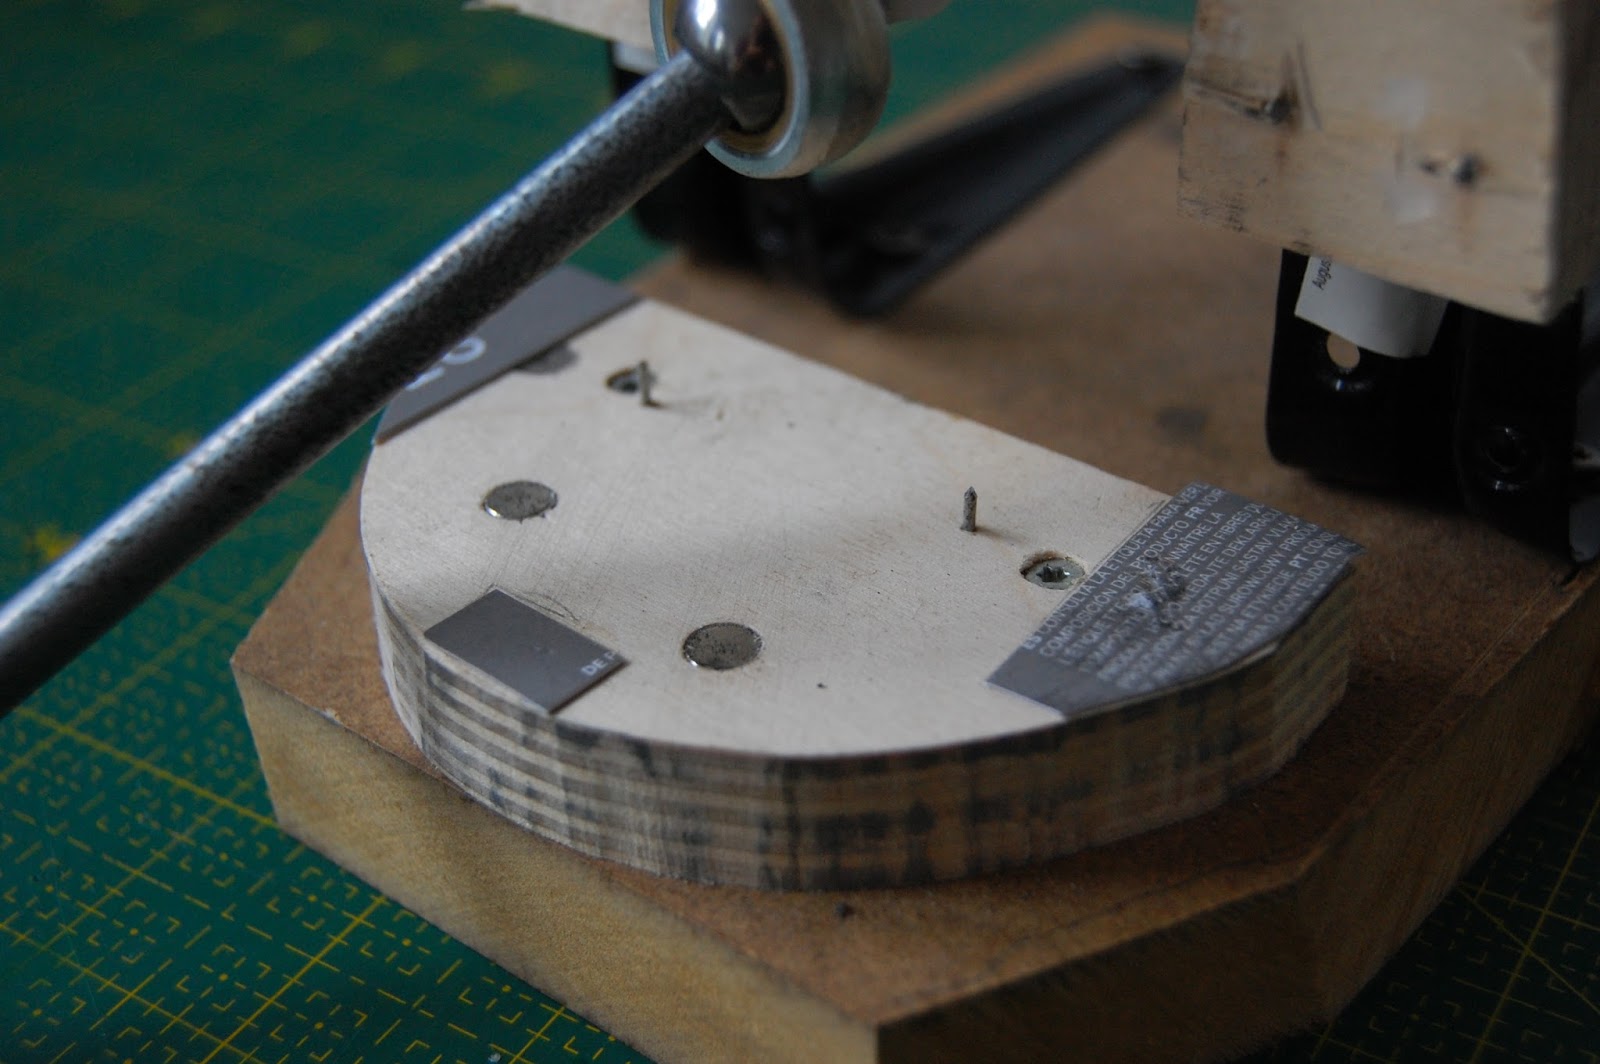
A inexpensive rose joint from ebay (8 mm hole and M8 female thread) holdes the rod in place right above the center of the blade. There was some play in the threads but putting a piece of plastic bag around the threaded rod removed it completely.

The rod was found in a dumpster and it had a grove in the end. This grove helps the instamorph stay in place preventing the rod for sliding out of the rose joint. Haven't heard about instamorph? Check it out, it's amazing. I no longer have access to a 3d printer so this will be a cheap alternative.

3d printed parts holds the threaded rod in place. What you dont see is that I put a M5 nut in it so that the screw can be tightened.

I used the "stones" from version 2
The platform was made to fit a old knife I bought from Simon Tuntelder
I didn't take any before pictures. This pictures is taken by Simon:

It was in overall good condition but had a few places where the edge was pitted by rust. I therefore had to ground down the edge completely and put a new bevel on it. Also the entire surface was dull and black and had to be sanded and polished.
Putting on the primary bevel was actually very easy. I started with and 120 grit stone bought from ebay. It really sucked but it did manage to remove enough material so that I could continue with 280 grip wet and dry sandpaper. After establishing a burr along the entire edge of the blade I progressed to 800>1500>2000>3000. After that it was already nice and sharp but I then put a secondary bevel on with 5 micron and finished with a third bevel at 0,5 micron. The bevel angle was 12,7 for the primary, 14,7 for the second and 15,3 for the third. If these are the best angles for the job I will have to found out.

The video shows the jig in action. I am just very lightly finishing the last bevel on my other round knife. As you can see I'm holding on to the rod with my left hand so that it does not move. This is not a problem using these very light strokes but when you are reprofiling a knife and are applying pressure to both the up and down stroke it tends to move. This is not a major problem and it should be easy to secure it in place.
Good job! This is what I imagined the jig would look like. Will there be V4? :-)
ReplyDeleteNice to see a made in Sheffield knife (my birthplace). I like the simplicity of the Simon Tuntelder work.
Thank you. For the time being there will not be a version 4. Maybe I will get some new ideas when I have used it a bit more. After searching on google I can see that they know how to make knifes in Sheffield! Yes Simon has some really nice designs.
DeleteI'll offer up a couple suggestions if you ever make version 4, especially if you're going to design a jig that will easily accommodate multiple sizes of knife.
ReplyDelete1. Get some smooth rod of a standard diameter and some stop collars. That will allow you to lock down the height adjustment and/or the rod that the hone is mounted to much more rigidly.
2. Those L brackets are going to allow some movement as well. If I were starting from a clean sheet of paper, I'd use something like 8020 aluminum extrusion - cuts easily with a hacksaw. You can get 90 degree brackets that will really lock it down tight, but all you need typically is a hex wrench to make adjustments. That will make it easier to accommodate different knives.