
This note pad cover was made to match this briefcase. It had to hold a Rhodia Pad No. 16 - A5 a G. V. Faber Castell pen and some business cards. I did not have any of these so I had to rely on measurements from the customer and the internet.


This was the first time I tried to dip dye a relatively big piece of leather. It did not take any pictures of this process but I will next time I do it. I made 2 mistakes. Firstly there were some drips I did not notice which showed up after the dye had dried. The left the leather darker. Secondly I let the leather dry directly on the green cutting mat. Somehow the wet leather absorbed some of the mat leaving the flesh side slightly green. As most of the flesh side is not visible I only had to dye a new piece for the back cover.


The card holder was sew on after the edges had been burnished.

Pricking marks 3mm from the edges was mark


On the second piece of the right pocket you only bevel the first few cm on the right side.

The closure strap was made by gluing two pieces together. To get an extra strong bond I applied a thin layer of contact cement and let it dry for 24 hours. Then I applied a second layer and let it dry for around 30 mins.

The edges was sanded to before gluing.

I used a pen with the same diameter as the Faber Castell pen to determine the length of the pen holder.


The strap holder was sewn on the back piece


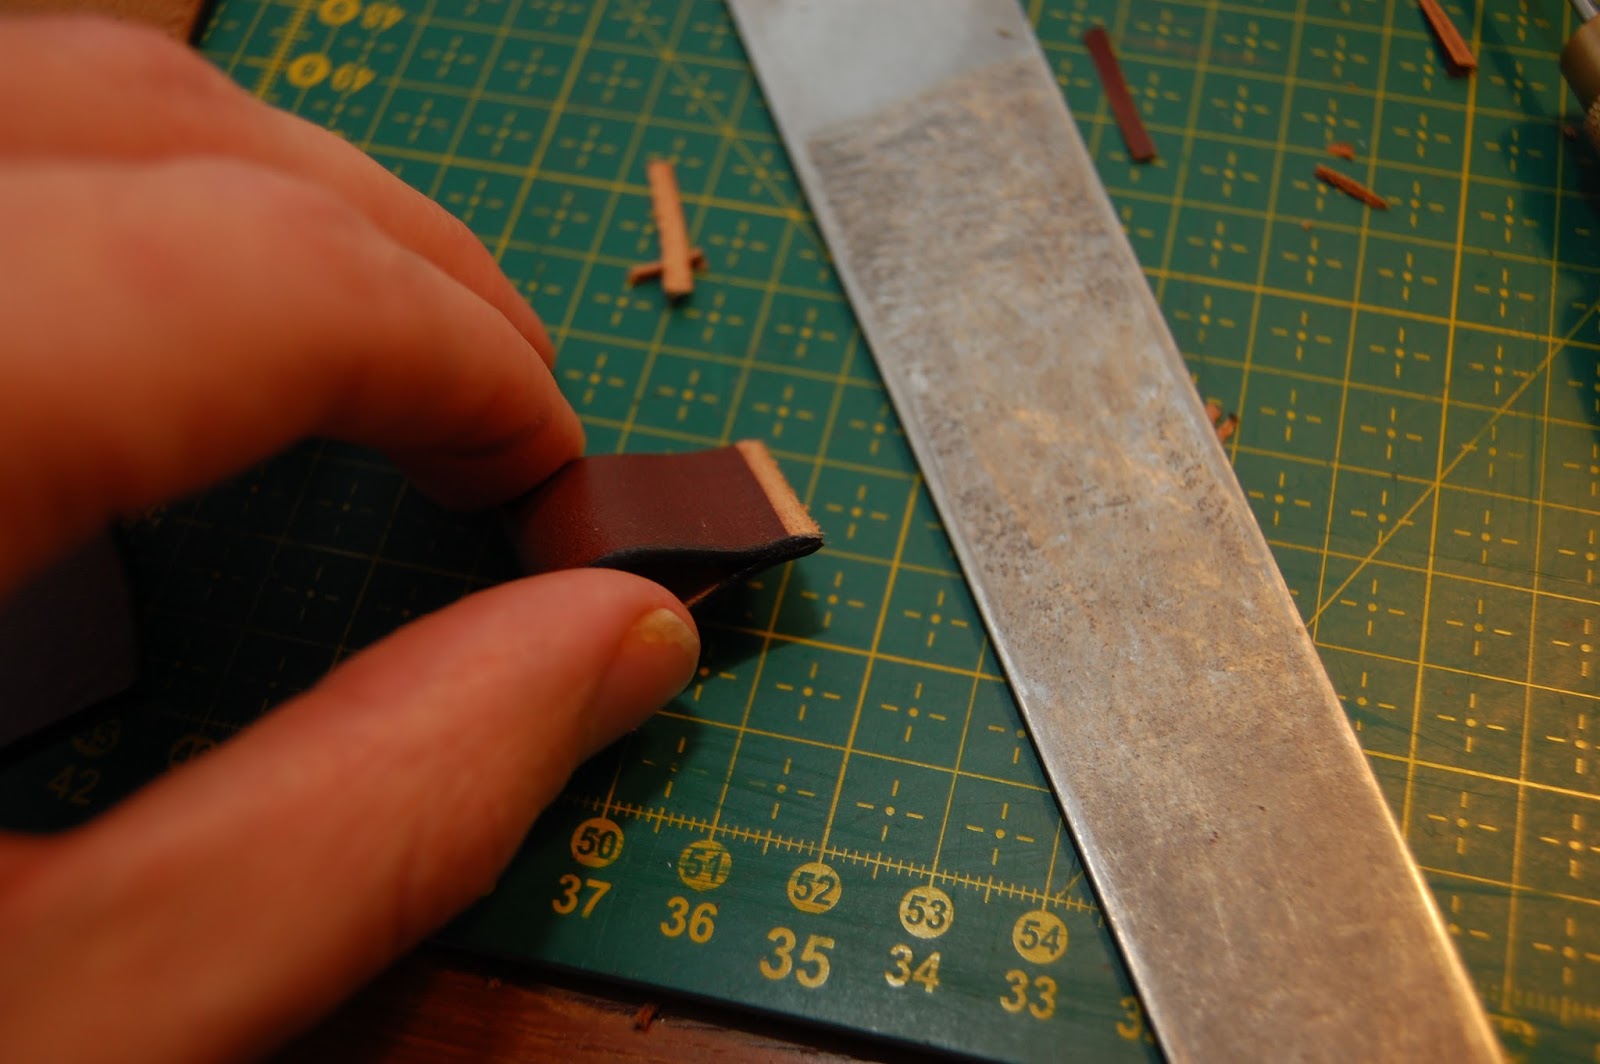
Skive the end of the pen holder after it has ben glued together
Also skive the end of the strap. Now glue them in place.

Now glue the front piece in place

Here you see that the small pieces of leather fill the gap that would have been on each side of the strap


Now all that is left to do is to stitch it alle together
Very pretty mate well done.
ReplyDeleteThanks :)
DeleteBeautiful beautiful work. May I ask what leather did you use here? I love the rich brown/burgundy shade.
ReplyDeleteThanks 🙂 The leather is normal veg tan that i dyed myself.
DeleteThis is great! Thanks for posting the steps!
ReplyDelete