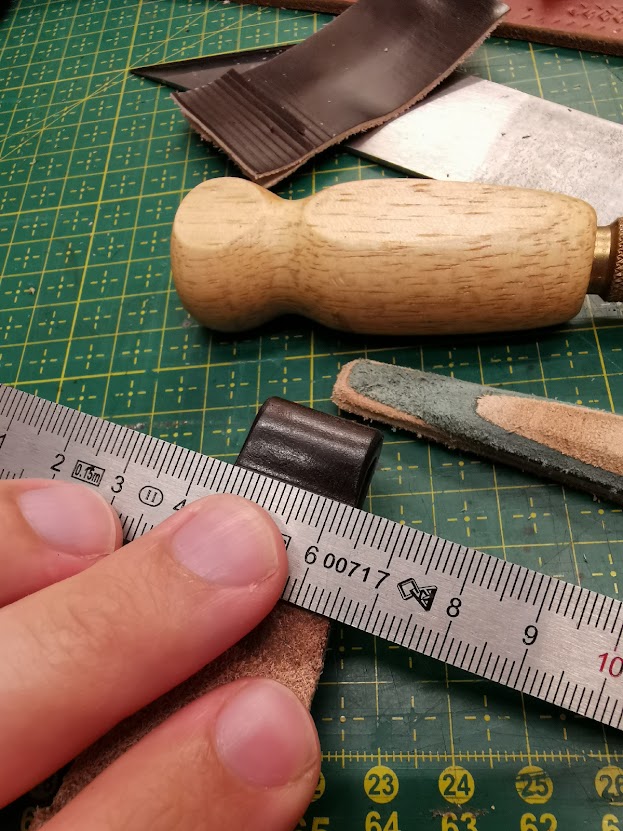
Briefcase handles are not that easy to make. I have had an idea in my head on how to maybe make the process a little easier and when I began working on a new briefcase the time was right to do something about it. The idea is to make a mold that will help getting flush edges and also help shape the leather around the filler. I think I achieved both and with some minor adjustments it can get even better I think. If you want to have a go at it you can download the stl files and the pattern. Please note that especially then length of the leather pieces are not 100% accurate. You will have to adjust it so that it fits.
.STL files:
I have not yet tried this but the idea is that you place the filler in the mold and cut it to shape:
The white pattern is the old pattern which I use to use. I used it again to know where to bend the inner piece but as you can see it leather has not been cut to shape. That will happen once its in the mold.
Use the lines to bend the handle
Check if the handle fits to mold. This handle was actually a bit too long which can be seen later on
Instead of just skiving each end of the inner layer I tried to split it down the middle around 1,5-2 cm in. When I did the other end I flipped the leather around. This ensures that the two ends laid on top of each other will have exactly the same thickness as the full thickness. I might try to cut both ends in a 50-60° angle and just let them butt up against each other. Normally I just skive each end which normally works okay.
The excess was cut off and the very ends was skived
Apply glue and lay the inner piece on the bottom mold and put the filler on top. Having the mold for this was really helpfull.
To help keep everything in place I lightly glued the two ends together
Did the same with to top and bottom
The top piece was skived to a feather edge and a small amount of glue was applied to help form the leather around the filler.
Glue applied to both pieces
Glue on the other side as well
Place it along the center line
And wrap it around and press the leather towards the filler
Now place it in the mold and apply clamps. A few minutes is enough
Now cut off the excess leather. Use the tip of the knife in the beginning to avoid cutting into the mold and not the middle as shown here.
Very flush edges
I was very happy when I saw this. Perfectly even and crisp lines along the fullefiller
Here you can see that the handle was a bit too long as I was not able to close the mold completely
It was easy to remove the marks with this tool
Bevel the edges but only around the bend
Burnish the ends

Scribe a line where the the bottom layer of leather will go to. I later decided to move this line further towards the end
The small mark underneath the other line is where the filler will go to.
Here you can see that the bottom layer will go a bit further towards the end


Hi, where can I purchase one of your fantastic briefcases?
ReplyDeleteSend me a mail.. Jonasboandersen at outlook.com
DeleteThis comment has been removed by a blog administrator.
ReplyDeleteVery clever.
ReplyDeleteThanks :)
DeleteVery impressive...the mold is very helpful...
ReplyDelete