After getting the leather the next step is to determinate where to place the pieces. As leather is never perfect you want to avoid any major defects and try to stay clear of any imperfections - but not at all costs. Sometimes the design of the piece you are making allows you to hide some of the imperfections and if that means that you are able to make better use of the remaining leather that is the option I choose.
The first bag I ever made was a replica of the music bag from ortus leather. That was nearly 5 years ago and now I'm going to make another. My skills have increased since then so lets hope the result reflects that.
Color
Trying to match colors are a pain in the ass. Having said that it's also kind of fun. In this case I had an old mix of color from this bag that when diluted with denatured alcohol gave the right color.
A guy contacted me asking if I could make him a music bag similar to the one I made long ago: First music bag. On this one the gusset needs to goes all the way across and instead of using a wooden bar it will be solid brass. Also the dimensions needs to be changed.
The music bag is called a music bag because it was used to carry sheet music around. I don't know if it is better than other bags for this purpose but nonetheless that's whats is called. It can of course still be used for this purpose but if you are a rebel you can put anything you like in it.
The music bag sets itself apart from other bags with is't unusual closure that consist of a bar the interlocks with the handle. Very clever and very easy to open and close.
Finding the right leather is still something I struggle with. I choose to try out shoulders from metropolitan leather as the samples I got from them were very nice. Also the replied quickly on all the questions I had.
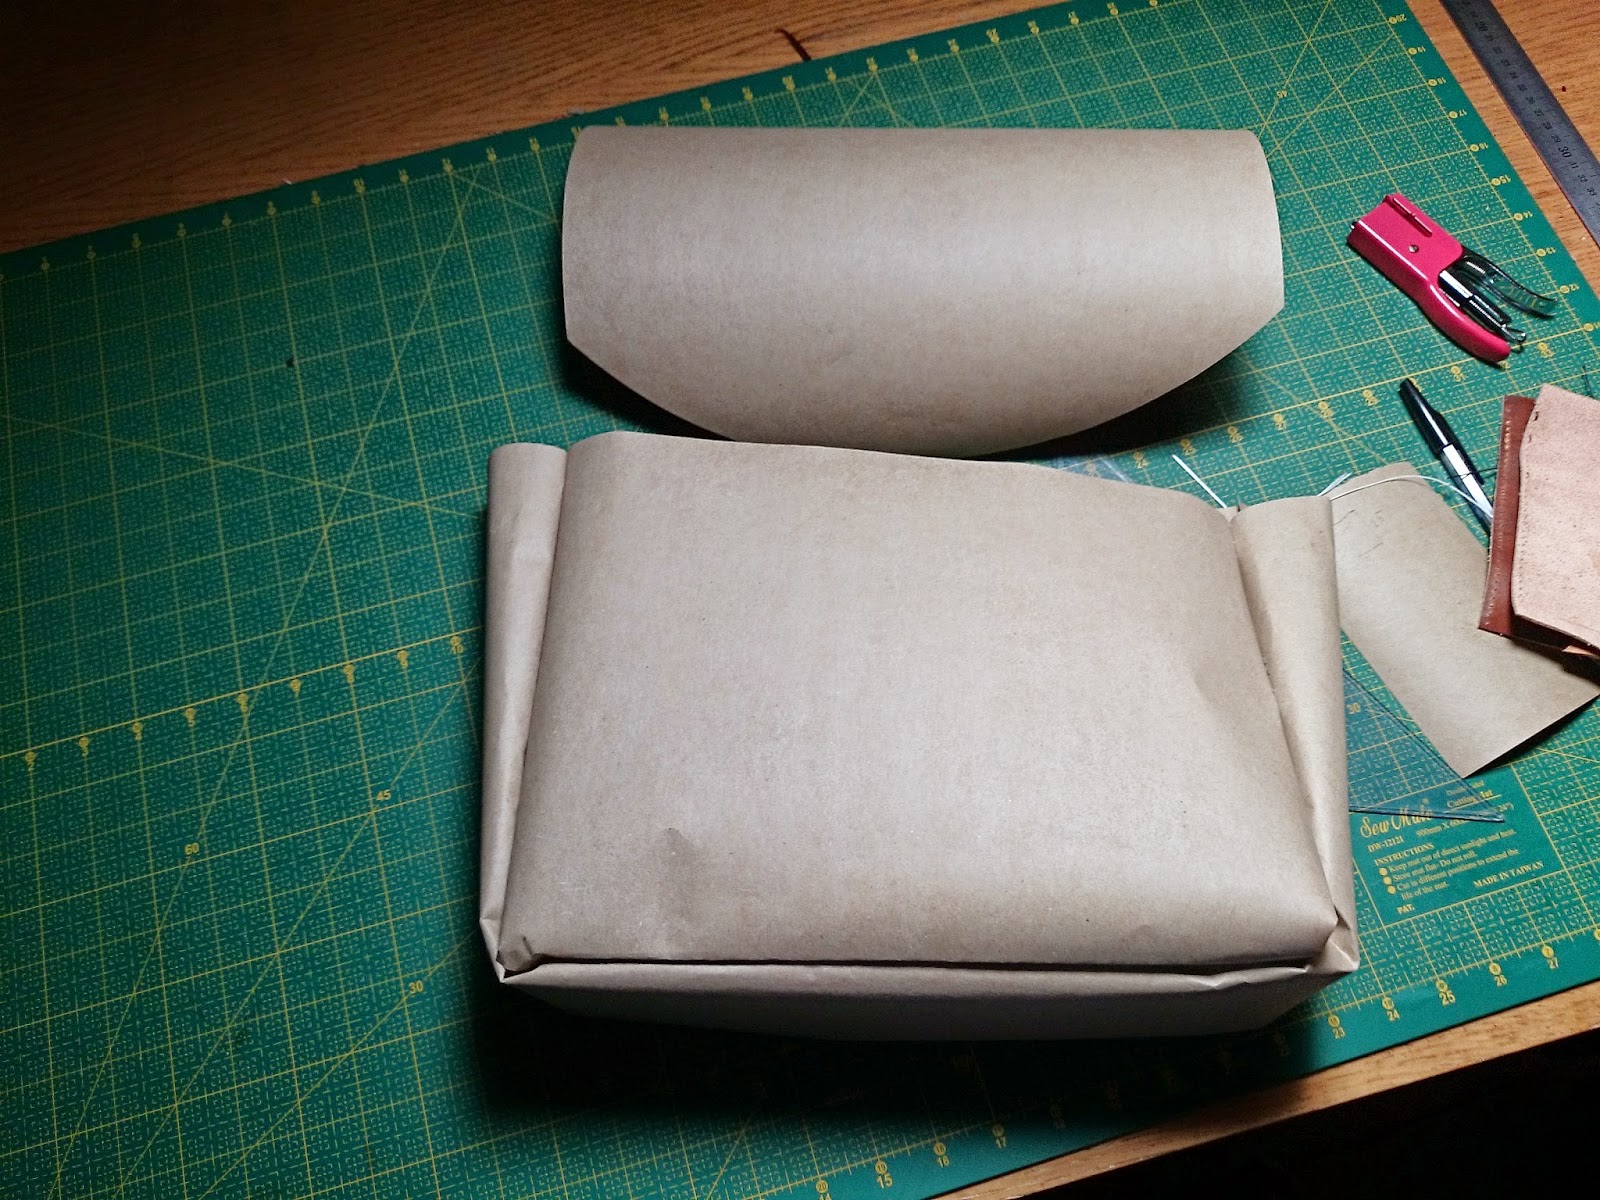
What is a tutorial worth without a pattern? Almost nothing if you ask me, so naturally I have included the pattern.
When cutting out the pattern, don't just follow it blindly. Allow a couple of extra centimetres on pieces where it makes sense so that you don't run short. Also, I can't
guarantee that it is 100% correct, so double check the measurements as you go along. If you find any mistakes let me know and I will correct them.
Regarding the gusset and partition board I have changed the pattern so that it has the dimensions that I think are correct. If I mention any other measurements along the
way don't follow them. Follow the pattern!
The PDF files are 1:1 so you can print it and cut it if your wish.
The other bags that I have are not really practical to throw over your shoulder when going somewhere. I therefore wanted a new bag more like a traditional messenger bag. As always I searched the internet for inspiration. I finally decided to make a "U.S mail bag"
They look more or less like this with different variations:
I also found a lot of remakes of the bag. I especially liked the ones from woo-life.
As I was not able to find a pattern online I had to make one myself. I experimented with different sizes and came up with one slightly smaller than what seems to be the norm.
Most remakes of these bags does not seem to have welts. Most old ones however does. At first I decided not to have any welts but after talking to a salesman (simon tuntelder) at skindhuset I changed my mind. Also he recommended using thicker leather than 1,6mm which was my initial plan. I ended up using 2 mm.
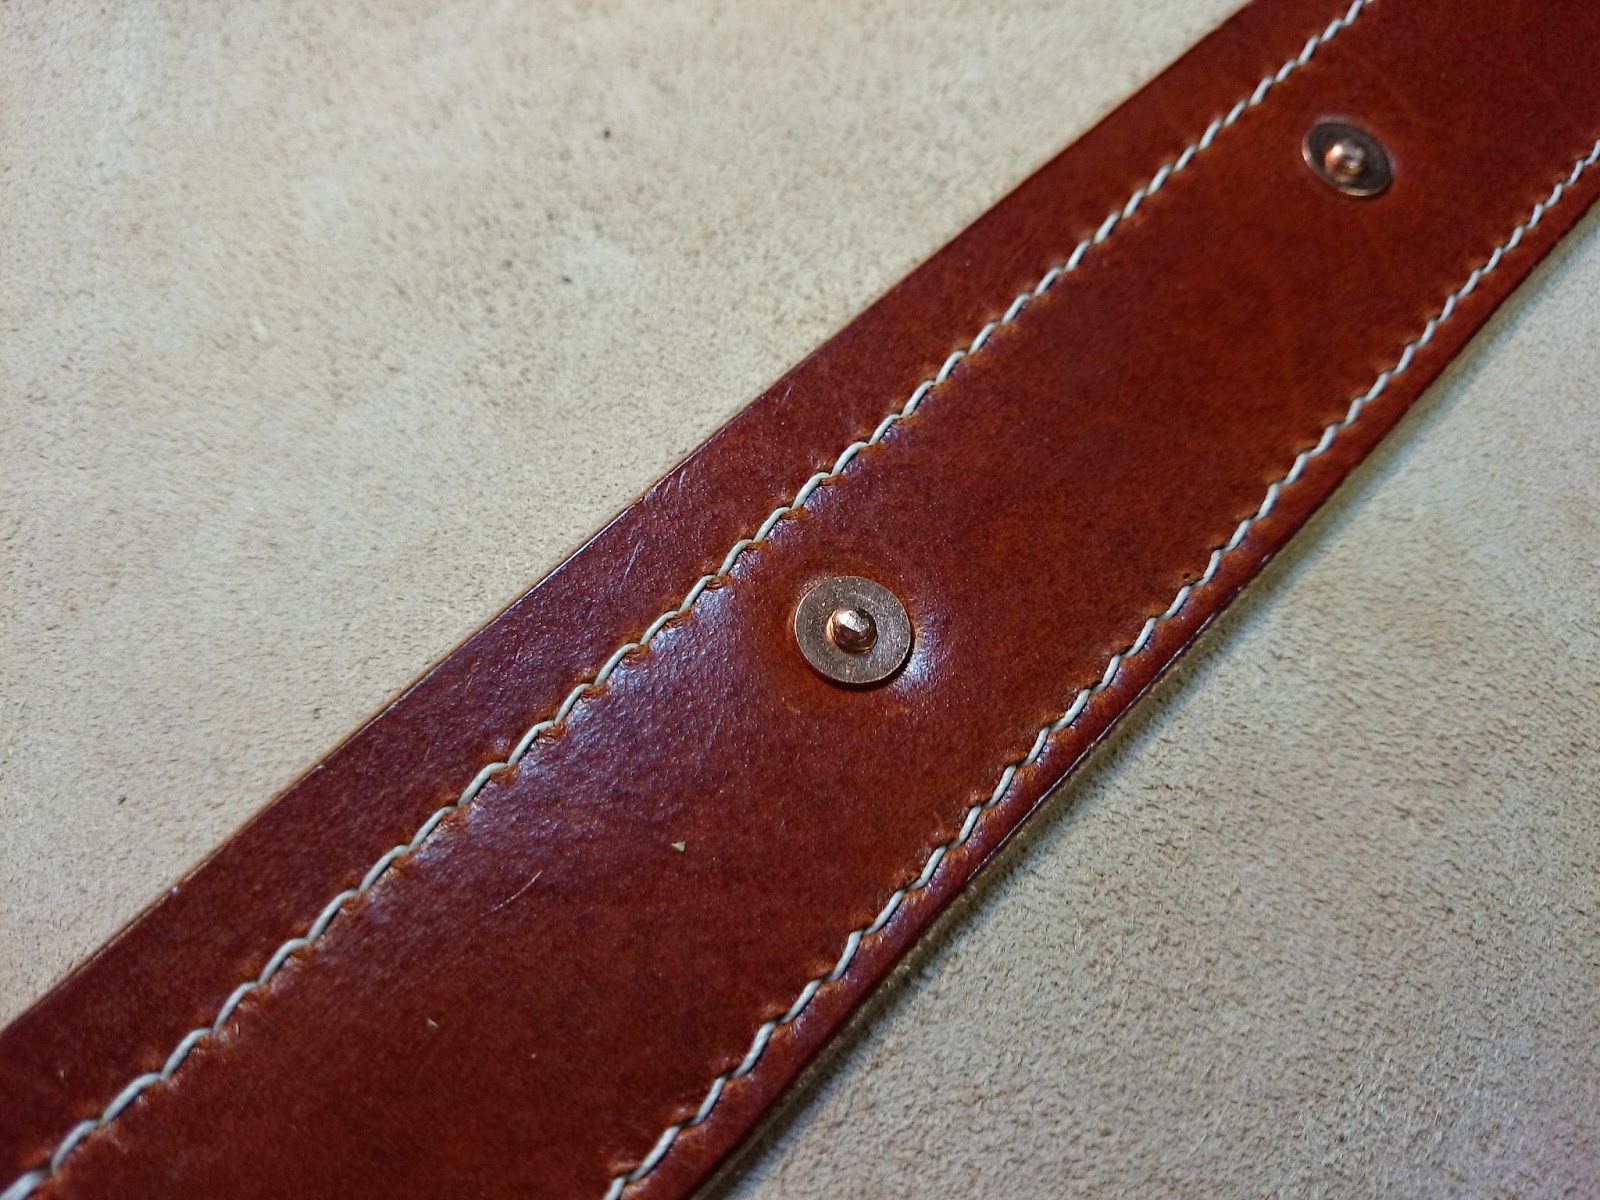
As welts was new to me I made some tests to determine the width and how far to place the stitches from the edge.
14-15 mm wide straps in 1-1,2 mm leather stitch line 4 mm from the edge
Contact cement applied and folded in the half
Cutting out the leather to be dyed. Roughly 90cm x 55cm
Dyeing the leather
Buffing the leather
Applying "læderfedt"
Rough cut out. Diameter of corners are 9 cm (saddle soap tin used as cutting guide)
Along the edges I sanded with a dremel to be able to glue the welt on.
The welt applied
Close up
Flap
I normally dye my edges but this time I just burnish them
The first 4 holes for the rivets.
The stitching was marked on the outside of the bag. This resulted in the stitch line being to far from the edge on the inner support piece. Always "measure twice cut once"
The first one was almost perfect. The last stitch on the right went above the support piece
The second one was not good. It was placed too far down and therefore the bottom stitching overlapped the vertical stitching on the support piece. To avoid cutting the thread I had to go either below or over the vertical stitching resulting in ugly stitches.
The gusset was glued in place with contact cement. I did not rough the weld edge so the glue did not stick to it as good as to the gusset. Placing the gusset went pretty good at first sight. When I began to sew I noticed that the gusset was not placed all the way to the edge at the corners. This meant that I had to realign the gusset as I was sewing. I could almost get it to the edge but not completeley. Luckily I did not damage the welt by coming to close to where it was bend (making the stitching visible from the outside)
As you can see the gusset is longer than it needs to be. I find it rather difficult to measure the exact length so instead I just leave it and trim it afterwards.
After sewing the gusset to the back you get an idea of how the welts will look. I think it looks really good. The square corners on the flaps really hurts my eyes. If possible I would like to round them.
The side straps were then rivited in place.
Preparing the front to be sewn to the gusset. This time I mark with the pricking iron before gluing it to the gusset.
Also I sanded the edge of the welt to get a better bond.
Before sewing on the front piece the buckle has to be riveted on.
Now the glue was applied.
I wrote ealier that I left the gusset too long because it was difficult to get the right length. I cut off the gusset after it had been sewn on the back. I must have cut it with an angle because when I glued on the front piece I ran out out of gusset. This sucked as there is nothing to do about it except cutting the top of the front piece to fit.
The corners look pretty good though.
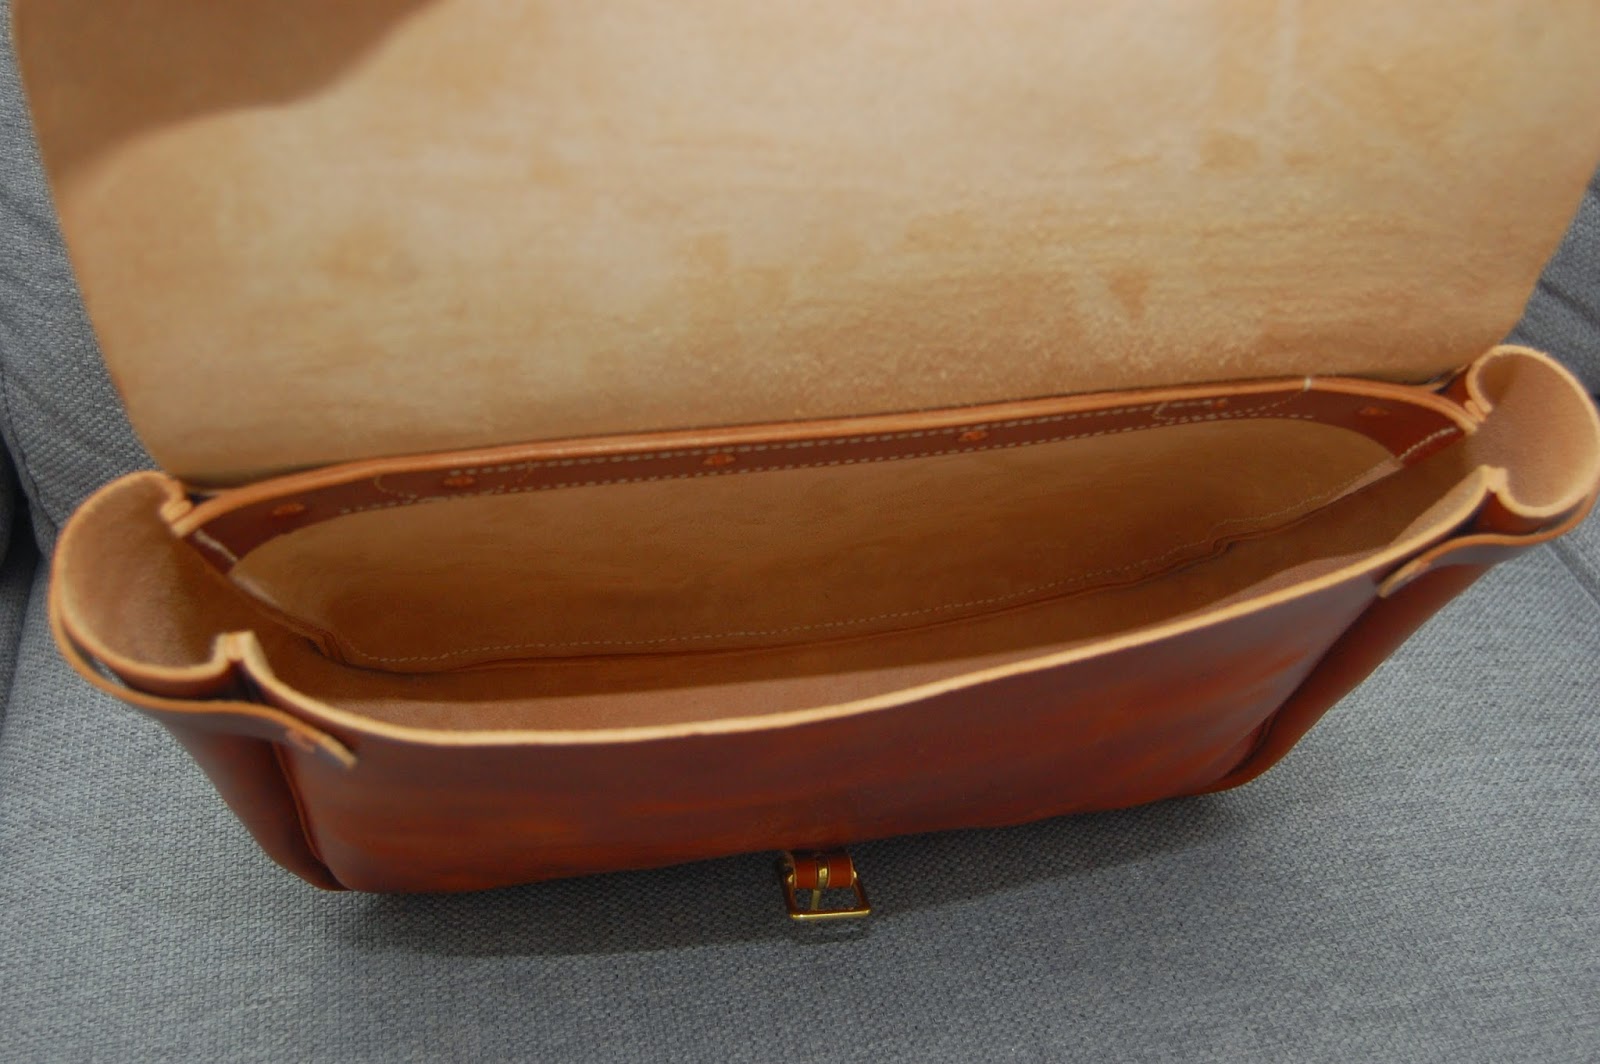
Now the part I really was looking forward to. Turning the inside out. The bag seemed pretty solid so I was not sure that it could be done without wetting the bag. I decided to make a video of the process as this was something I really would have liked to have seen before doing it myself. It was actually not that hard to do!
Now the only thing left to do is rivet the side straps to the the front and making holes in the strap.
The shoulder pad is made from 2 pieces of leather. The bottom is made of 4 mm and the top from the same leather as the rest of the bag. The slots for the strap came out crooked as I was too sloppy when punching the holes.
Shoulder pad done! It might be too big. Maybe I'll make a smalle one if this does turns out to not work.
The finished bag. At the top it is 42 cm wide and at the bottom 35 cm. It is 27 cm high