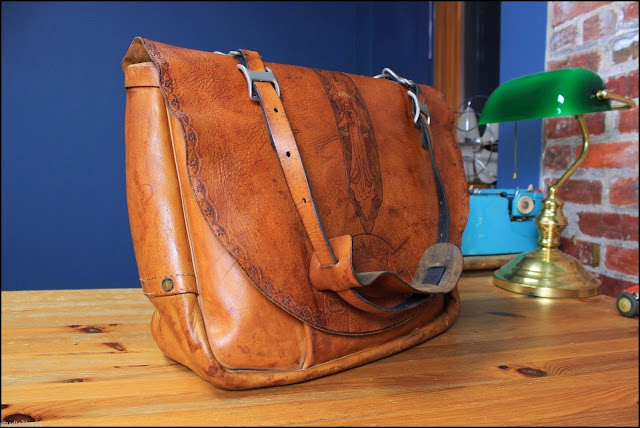
The other bags that I have are not really practical to throw over your shoulder when going somewhere. I therefore wanted a new bag more like a traditional messenger bag. As always I searched the internet for inspiration. I finally decided to make a "U.S mail bag"
They look more or less like this with different variations:
I also found a lot of remakes of the bag. I especially liked the ones from woo-life.
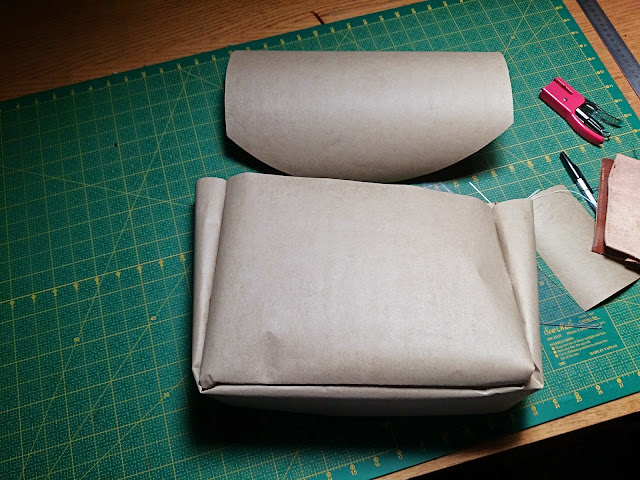
As I was not able to find a pattern online I had to make one myself. I experimented with different sizes and came up with one slightly smaller than what seems to be the norm.
Most remakes of these bags does not seem to have welts. Most old ones however does. At first I decided not to have any welts but after talking to a salesman (simon tuntelder) at skindhuset I changed my mind. Also he recommended using thicker leather than 1,6mm which was my initial plan. I ended up using 2 mm.
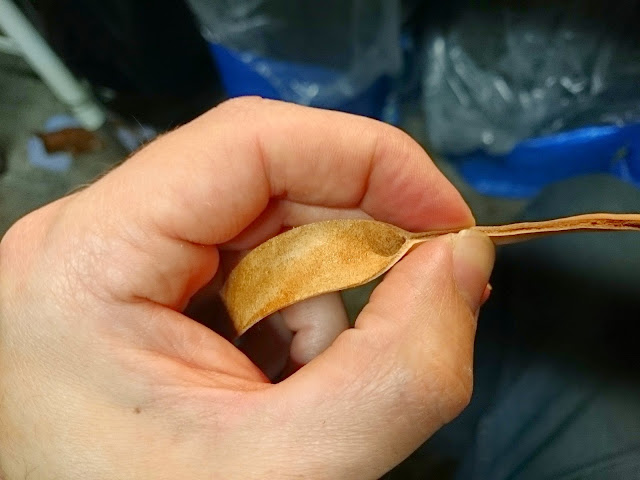
As welts was new to me I made some tests to determine the width and how far to place the stitches from the edge.
14-15 mm wide straps in 1-1,2 mm leather stitch line 4 mm from the edge
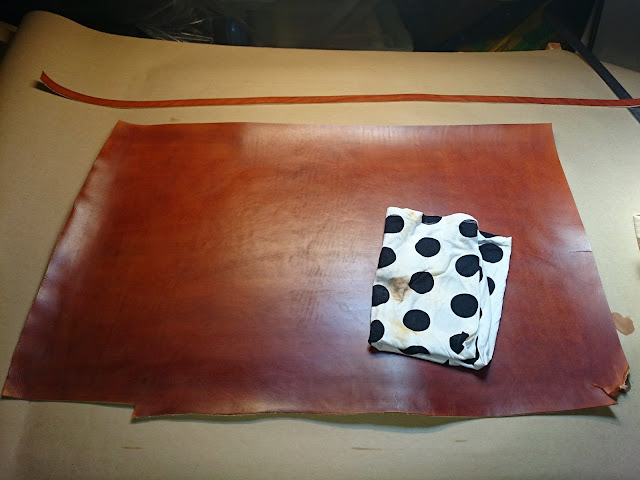
Cutting out the leather to be dyed. Roughly 90cm x 55cm
Buffing the leather
Applying "læderfedt"
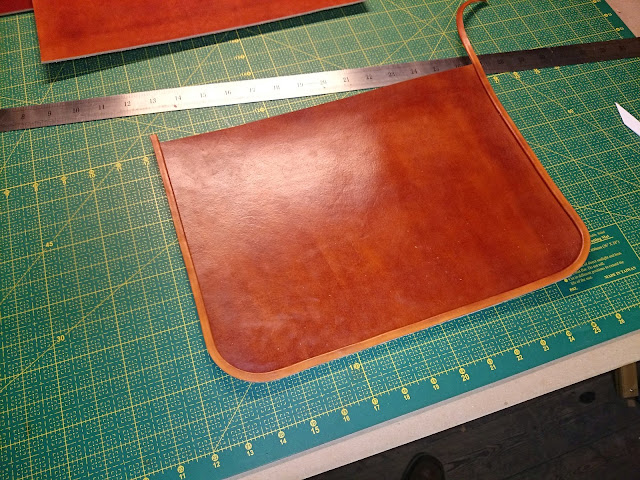
Rough cut out. Diameter of corners are 9 cm (saddle soap tin used as cutting guide)
Along the edges I sanded with a dremel to be able to glue the welt on.
The welt applied
Close up
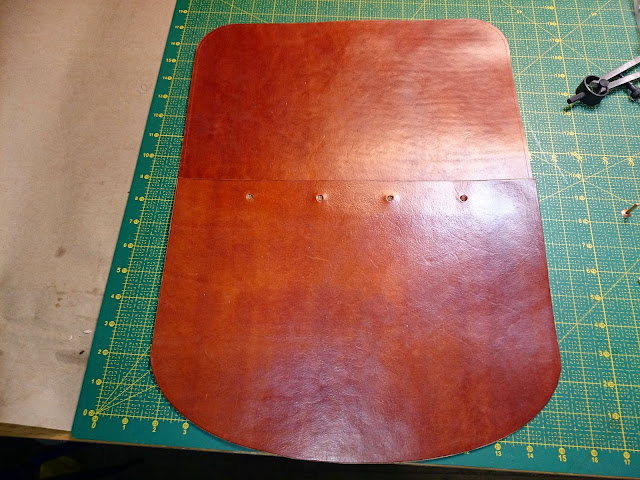
Flap
The stitching was marked on the outside of the bag. This resulted in the stitch line being to far from the edge on the inner support piece. Always "measure twice cut once"
The first one was almost perfect. The last stitch on the right went above the support piece
The second one was not good. It was placed too far down and therefore the bottom stitching overlapped the vertical stitching on the support piece. To avoid cutting the thread I had to go either below or over the vertical stitching resulting in ugly stitches.
The gusset was glued in place with contact cement. I did not rough the weld edge so the glue did not stick to it as good as to the gusset. Placing the gusset went pretty good at first sight. When I began to sew I noticed that the gusset was not placed all the way to the edge at the corners. This meant that I had to realign the gusset as I was sewing. I could almost get it to the edge but not completeley. Luckily I did not damage the welt by coming to close to where it was bend (making the stitching visible from the outside)
As you can see the gusset is longer than it needs to be. I find it rather difficult to measure the exact length so instead I just leave it and trim it afterwards.
After sewing the gusset to the back you get an idea of how the welts will look. I think it looks really good. The square corners on the flaps really hurts my eyes. If possible I would like to round them.
The side straps were then rivited in place.
Preparing the front to be sewn to the gusset. This time I mark with the pricking iron before gluing it to the gusset.
Also I sanded the edge of the welt to get a better bond.
Before sewing on the front piece the buckle has to be riveted on.
Now the glue was applied.
Now the part I really was looking forward to. Turning the inside out. The bag seemed pretty solid so I was not sure that it could be done without wetting the bag. I decided to make a video of the process as this was something I really would have liked to have seen before doing it myself. It was actually not that hard to do!
Now the only thing left to do is rivet the side straps to the the front and making holes in the strap.
The shoulder pad is made from 2 pieces of leather. The bottom is made of 4 mm and the top from the same leather as the rest of the bag. The slots for the strap came out crooked as I was too sloppy when punching the holes.
Shoulder pad done! It might be too big. Maybe I'll make a smalle one if this does turns out to not work.
The finished bag. At the top it is 42 cm wide and at the bottom 35 cm. It is 27 cm high
Patterns













Thank you and your welcome.
ReplyDeleteOutstanding! Thanks for taking the time to do the video and post the progress for us to see.
ReplyDeleteMike
Thanks! No problem with the video. It is always fun to see how other people do stuff.
Deletethat is awesome. Thanks so much for this- i have been trying to find the right pattern to make one for myself, and this is it. I may not do the welts, but we will see!
ReplyDeleteI'm glad you find it usefull. I would have loved a guide like this before I began. The welts can be left out for sure. I had some 1-1,2 mm leather already bit if I hadn't I'm not sure I would have made them. If you decide not to I would like to see how it works out.
DeleteWOW!
ReplyDeleteThanks ;-)
DeleteI am speechless !!!! Magnificent work first class all the way ! This was really helpful in many ways . I am grateful beyond words for your time and effort in posting this .I cant say thank you enough . Magnificent sir ,Big round of applause from me .
ReplyDeleteThank you very much. You're too kind. I'm very happy you took the time to read and comment my post.
ReplyDeleteVery, very nice work! Congratulations and thank you for the tutorial too!
ReplyDeleteThank you :-)
DeleteI just LOVE this bag! Thank you for sharing all of the steps and pattern that you did. I definitely want to make this!
ReplyDeleteI love this bag too. Its the one I use the most. I'm glad you liked the tutorial. If you have any questions when you make your own feel free to ask if you have any questions.
DeleteHi! I have sewed several bags on your templates, but doesn't suit me that sidewalls strongly stick out. Whether it is possible to make with it something? Thanks!
ReplyDeleteI guess if the gusset was made from thinner leather it would not stick out as much.
DeleteAnother thing you could try is to sew on the gusset to the back piece like its done on this bag https://img1.etsystatic.com/136/0/7615926/il_fullxfull.916464471_6mpf.jpg
its a swiss army bag
2021 this is so helpful, neatly done, well explained, welldone.
ReplyDeleteThank you 🙂
Deletewhen you put your gusset on did you skive the edges? and if so how wide did you skive it to and at what thickness did you skive down to?
ReplyDeleteThanks
No the edges was not skived at all. I used 2mm leather and it worked out okay. I have later tried to make another bag using 2,5mm leather and that was skived down to around 1,5mm
DeleteThank you for the info
DeleteHello.
ReplyDeleteI love this project. Im curious how the 2mm has held up over the years. Still firm and standing up nicely?
Thanks for the great post.
Thank you. Yes the leather has held up very nicely. I think 2 mm is very suitable for this kind of bag
DeleteAs always excellent work... Thank you for sharing your work with us....
ReplyDelete