So it turns out that the gusset was bit too big. If you want the final width of your bag to be 43 cm then you should not make your gusset 43 cm wide ( I'm talking about the distance between the two lines that was scribed across the gusset 43 cm apart) I should be maybe 42 cm instead.
The front piece needs a hole to fit the lock in. If you buy the same lock as I did you can use the measurements on the pattern. If not you are on your own.
The strap holders needs to line up with the holes in the top strap. To find our where they should be lay the top strap "assembly" on the front piece and mark where the center of the "strap slots" are.
To cover the back of the lock I form a piece of leather (the same as used for the gusset) by wetting the leather and pressing it down against the lock. I cut it out in a circle with a diameter of 8,5 cm and skive the edges before cutting to the final shape of (7,5 cm diameter).
Rivet the lock in place using the same technique as with the catch. Apply contact cement to the lock cover and front piece and glue in place. After it has dried you can sew it.
To determine the height of the front piece I tried to fit the gusset with help of some clamps, It had to be 31 cm high and not the 30 cm I was aiming for.
Cut it.
Place a coin in the corner.
Make several straight cuts.
Sand it smooth.
Burnish the top edge.
Place a ruler diagonally and mark the center
Center mark.
Scribe a line withe the wing divider. Diameter 7 cm
Take the dimensions from your lock and make some dots.
Connect the dots
Cut it out.
Sweet.
The lock has some snaps on each side of the "main box" which we have to make room for. I use a 9 mm drill.
And a knife.
The lock should fit right in now.
Mark with pricking iron.
Drill holes for rivets.
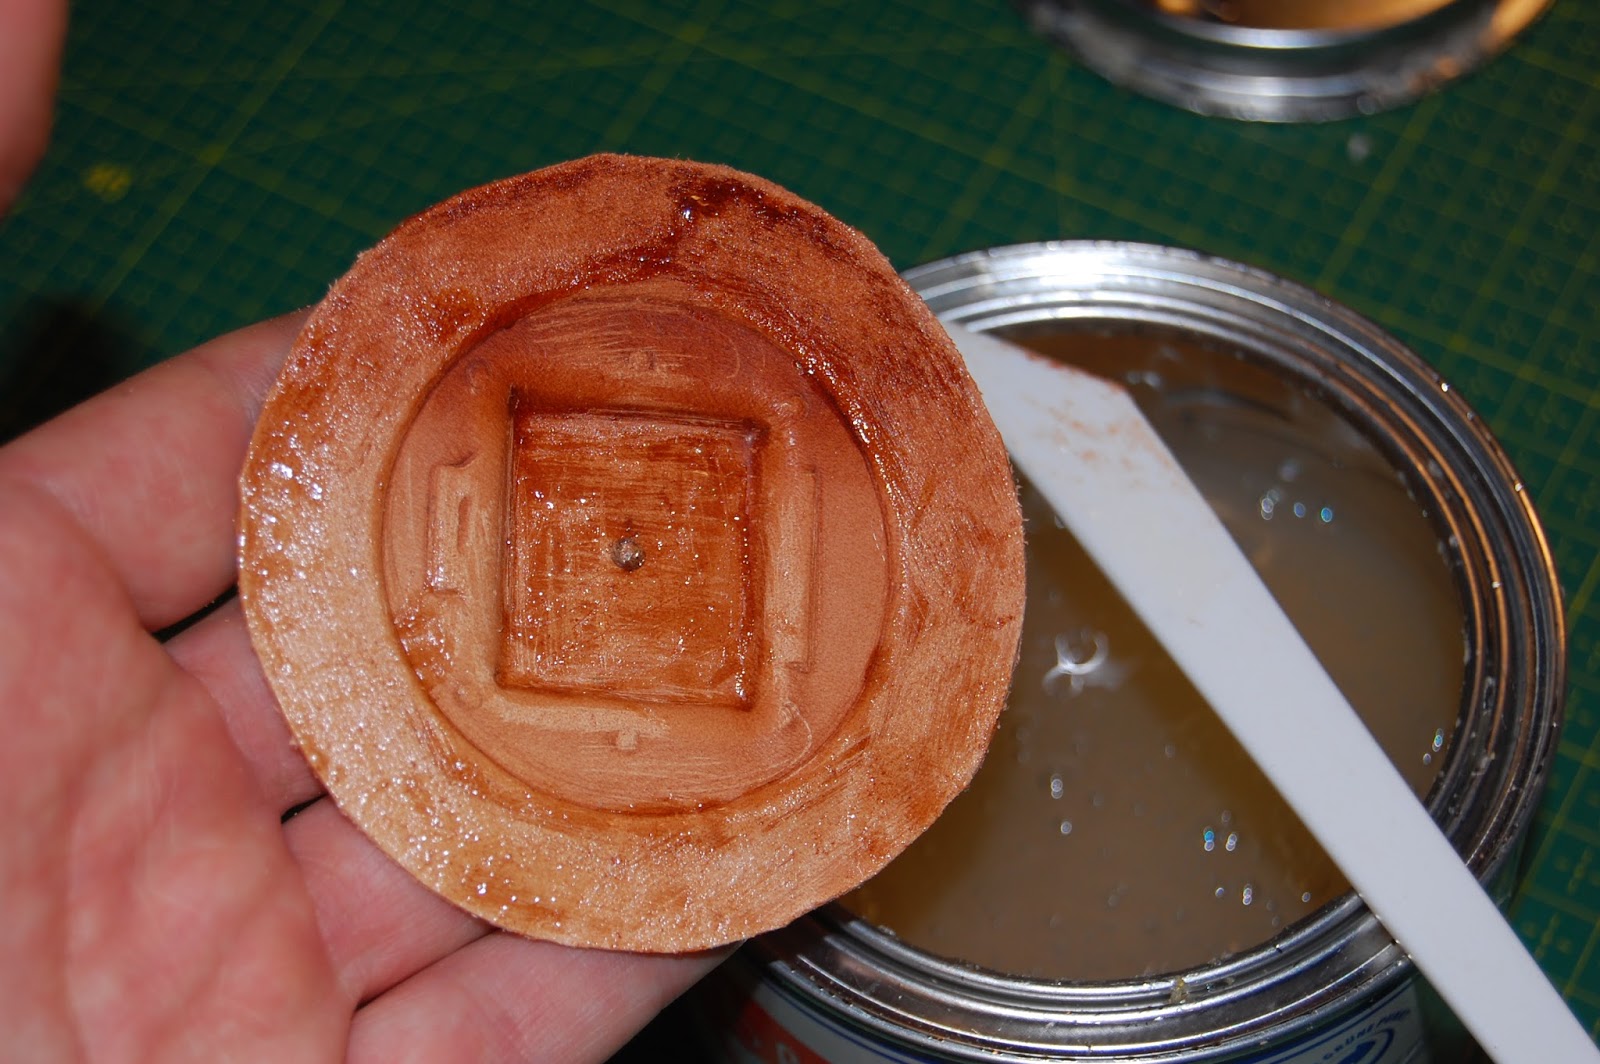
Apply gum tragacanth and let it dry a bit.
Slick it with a slicker. I use an old glass shelf.
Wet it briefly.
I did a test to see how the hole for the lock should be and instead of using the actual front piece I use this instead to hold the lock in place.
Press down against the lock.
I use this forming tool to firmly press the leather down.
To be able to shape the outer ring place it on the table.
After it has dried mark two circles with a diameter of 7 and 8,5 cm
Skive along the edge
I scribed a line around the cover so that I know where to put the contact cement.
All four rivets set. There is not much room for the hammer so you can't avoid hitting the edge of the lock.
From the front.
Just to make sure that the back cover is not too small I tried to pierce the leather with the awl. As you can see the distance from the line is perfect.
Rough the edge.
More sandpaper work.
Apply contact cement.
More cement.
After the contact cement has dried you glue the cover in place.
Pierce the leather making sure that all the holes are made at the right angle.
Sew a few stitches. Then turn piece so that the next stitches are on top. Repeat.
The back side.


No comments:
Post a Comment
Note: only a member of this blog may post a comment.