Before sewing can begin you need to glue the front piece and the gusset together. To be able to the it accurate lay the front piece on the table and cover it with wax paper. This way you can lay the gusset on top without having to worry about the glue bonding in places you don't want. Start at the top of the gusset working you way down just around the corner. Then begin with the other side of the gusset and do the same. Take care that the edges align. This way you don't have to sand too much to get a smooth edge.
The reason why you glue the bottom last is that if the gusset is not the exact same length as the side of the front piece you can hide the extra (or less) material by forcing the leather to either stretch or compress a bit.
When the cement has dried sand the edges, scribe a stitching line around 5 mm from the edge and mark the holes with the pricking iron.
Sewing begins the top of the gusset and the thread should be long enough to reach beneath the second strap holder. This way you can hide this change of thread under the strap and only use two threads to sew the entire length. The reason I don't sew using only 1 thread is that is becomes too long.
Marking the holes and sewing took 1½ hours just for reference.
When you have finished sewing you can bevel the edges both front and back and burnish the edges.
Scribe a line around 5 mm from the edge.
Sand it.
Here you see why the stitching of the top gusset needs to start 7mm from the edge.
Put contact cement on the edges
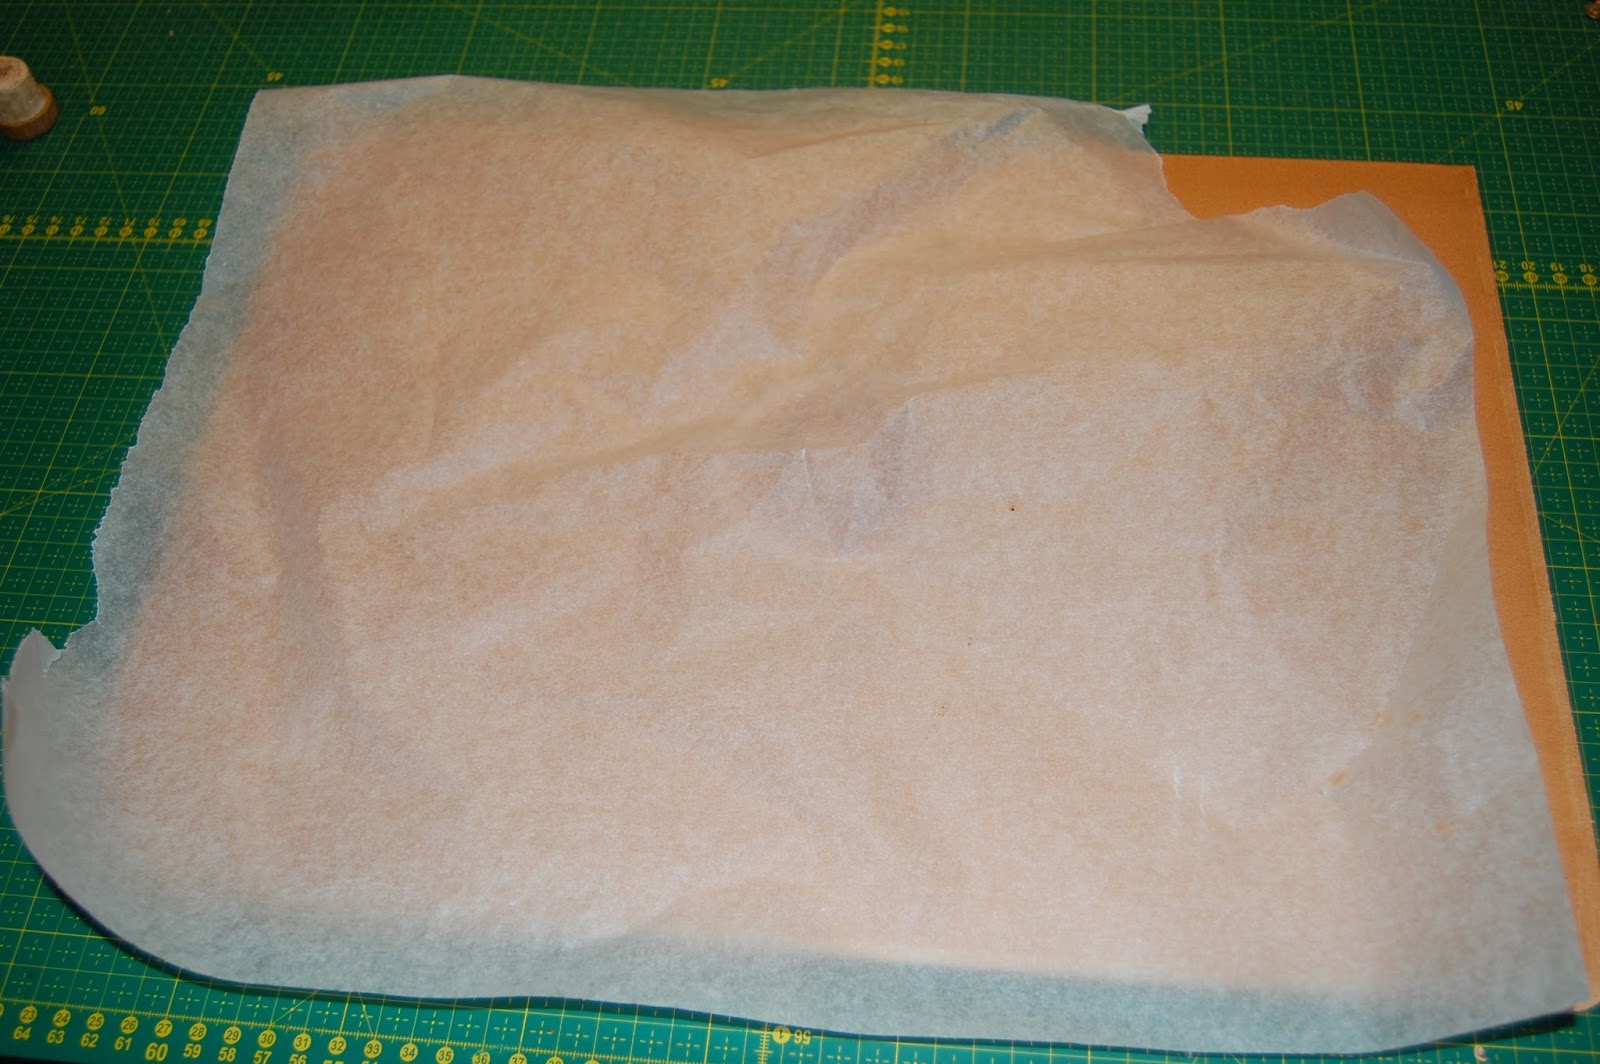
Lay the front piece on the table and cover it with wax paper.
Begin with top edge.
Take care around the edge. You should stop after you have done the corner and begin with the other side.
Take care that the edges are flush.
Work in small sections moving the wax paper a few cm at a time.
This is the bottom edge. It is a good idea to work towards the center instead of going all the way across.
Press the edges with the roller.
It's starting to look like something!
Sand the edges.
Scribe a line 4-5 mm from the edge. Take care that the wing divider don't slip.
When marking with the pricking iron I put a cutting board underneath to get a more stable surface.
At the corners it is difficult to get a stable base so I just make light marks holding my fingers underneath the edge.
I then use the small pricking iron to make deeper marks. It is also used going around the corner.
When coming to the second strap holder stop the marking right underneath.
Begin at the other side going towards the strap holder. If your are lucky enough that the marks line up the just keep going.
My holes did not line up so I used the 2 prong to even out the marks.
It is almost even. The uneven stitches will not be visible due to the strap that will cover it.
Now the stitching can begin.
As you can see the hole goes a bit into the fold.
It is not perfect but it not that bad.
When coming to the second strap stop underneath it.
Begin stitching in the next hole with a new thread.
Then continue stitching a few stitches.
Cut off the thread. The double stitches will be hidden by the strap.
Bevel the edges.
Dont forget the back side.
Now its ready for the edges to be burnished.


No comments:
Post a Comment
Note: only a member of this blog may post a comment.