

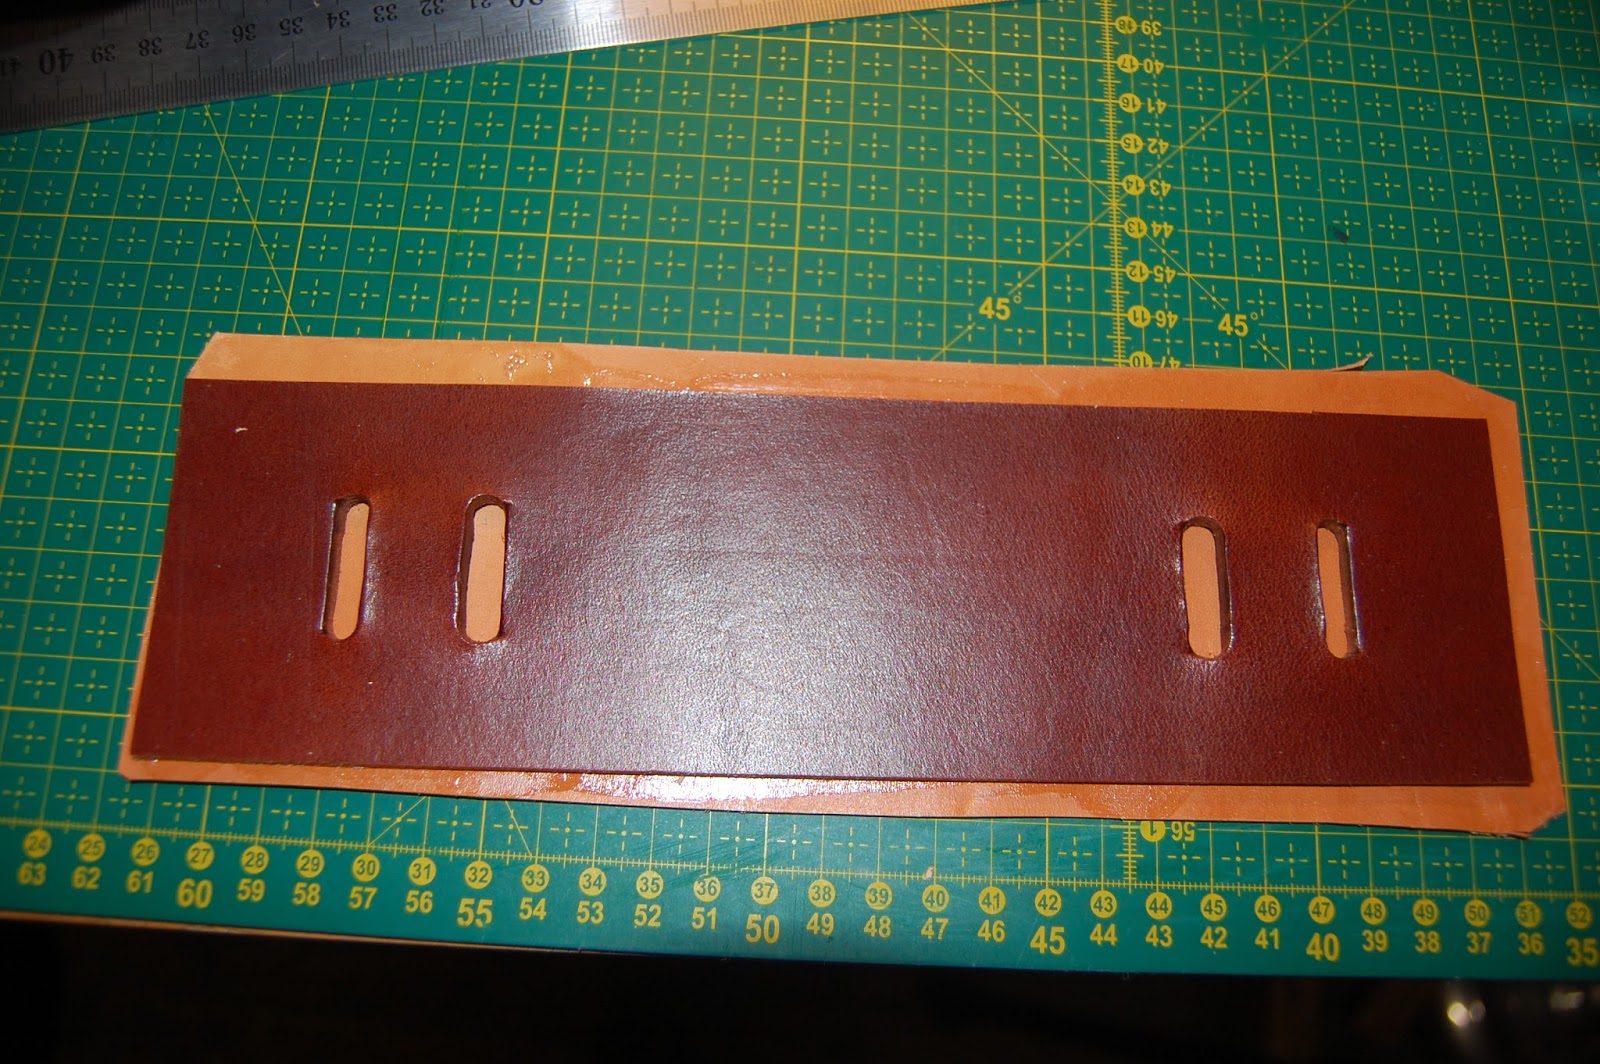
The shoulder pad is very simple to make. Make holes that fits the strap and glue it together with another piece of leather, stitch it and finish the edges. One thing to remember is not to apply cement to the area just below the cutouts for the straps. The top layer is the same leather as the rest of the bag. The bottom layer is the same as the gusset. The bottom layer has the flesh side out. This is to help create friction so the it does not move around on the shoulder. I chose not to dye it mainly because it is not possible to give it a good buff without smoothing out the surface. Without the buffing the dye could rub and we don't want that.
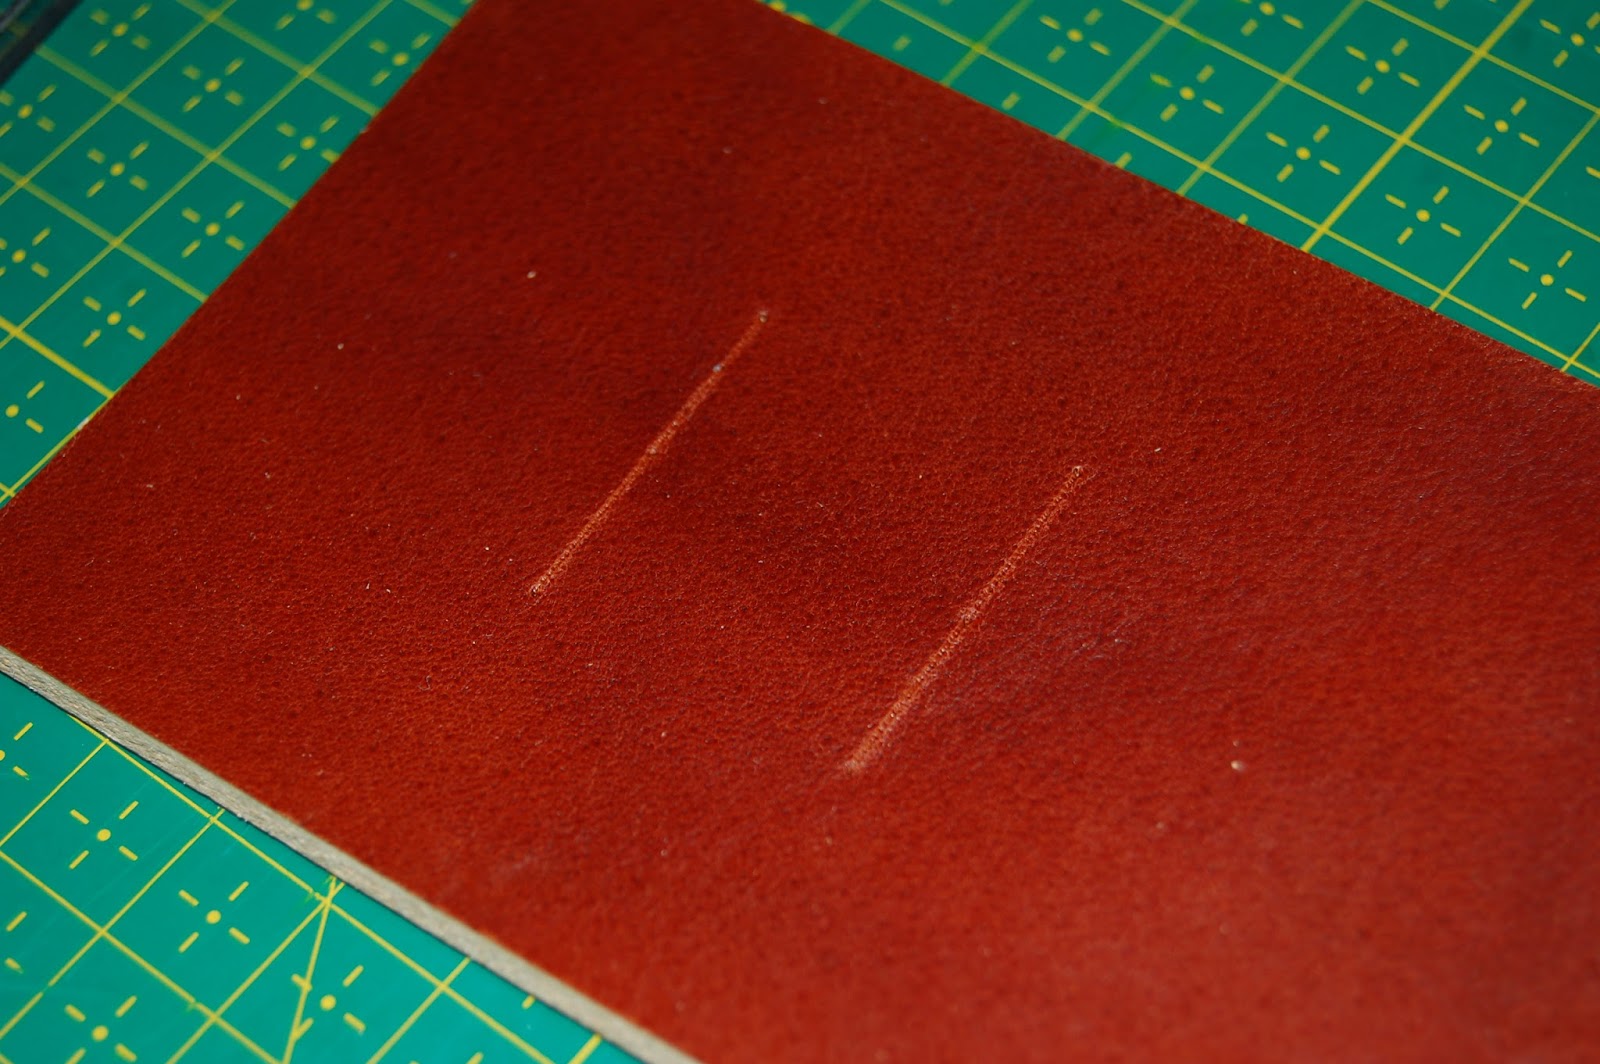
Mark where the holes should be


No comments:
Post a Comment
Note: only a member of this blog may post a comment.