

Before making the handle it is a good idea to make the top straps as this affects the size of the handle.
Depending on which iron strip you use the dimensions will vary so make the necessary changes to your design.
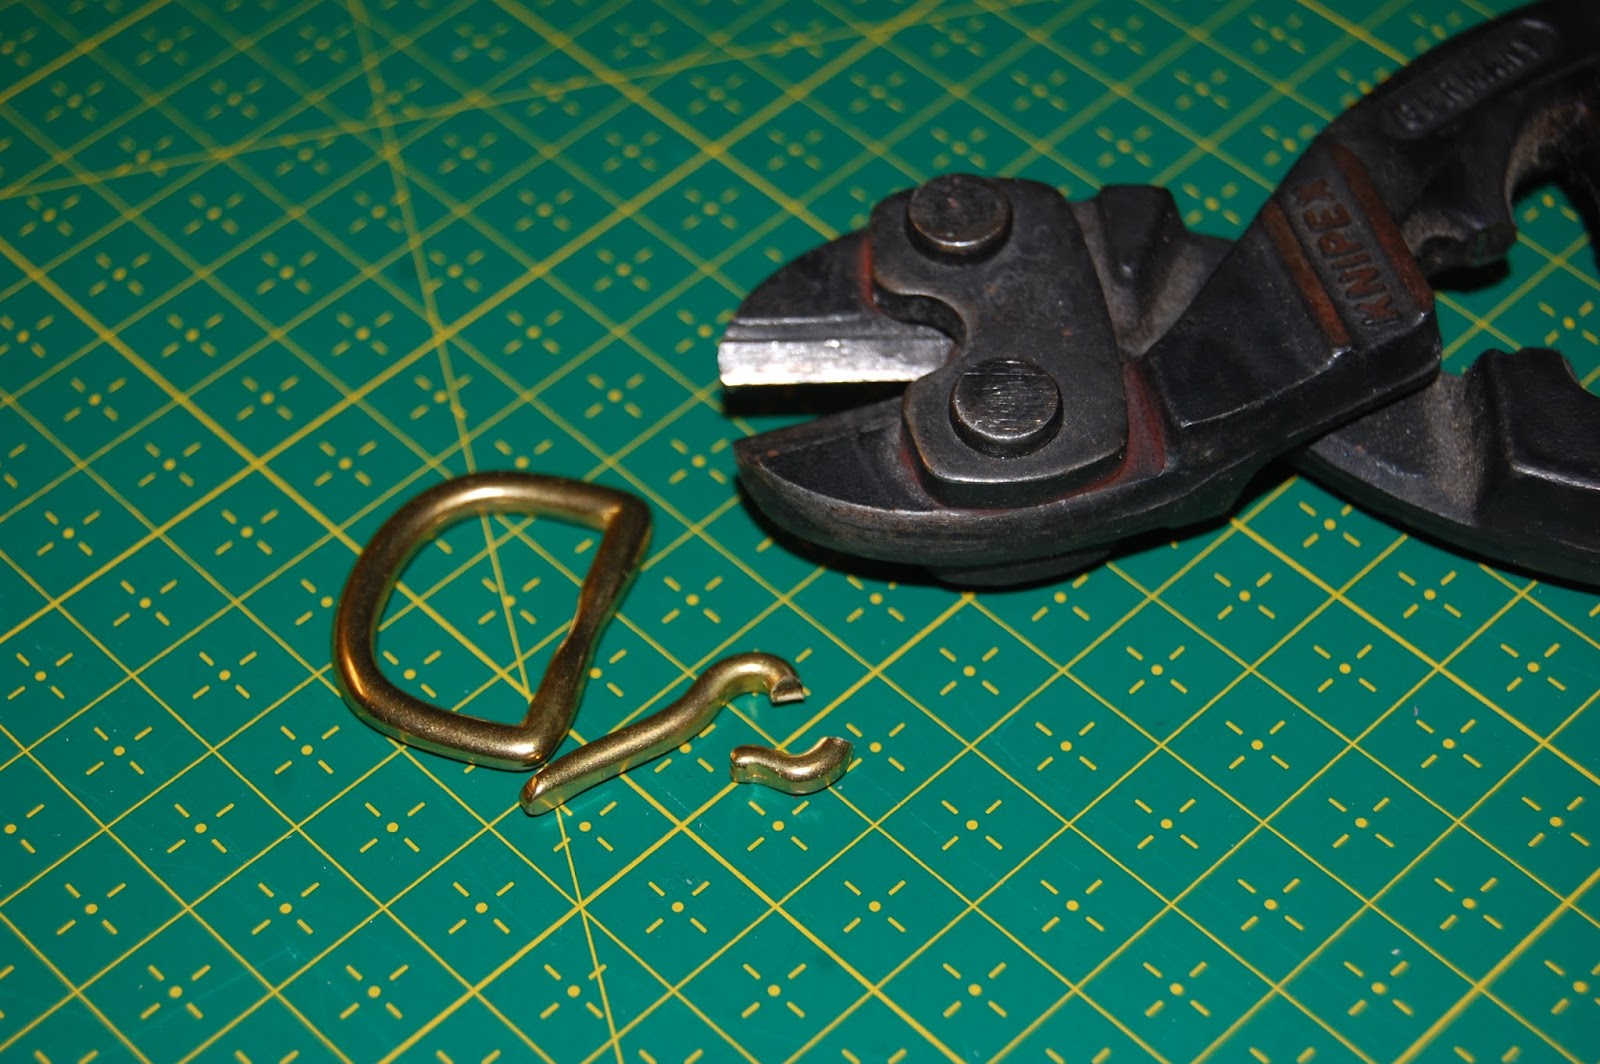
I could not find a 20mm D-ring with a shape I liked but did I manage to find a nice buckle and with the help of a small bolt cutters the problem was solved.
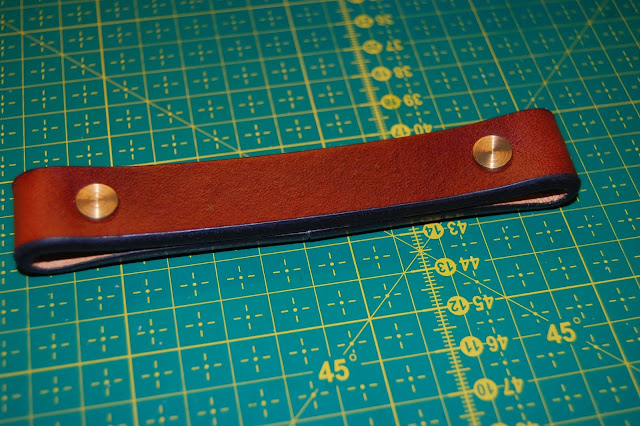
I used the iron strip to mark where the holes on the top should be and then I use a wing divider to mark the "bottom" holes. When punching the holes make sure you are dead center or the edges will not line up when the strap is folded. To ensure that the leather will not crack in the surface when folded you need to wet it.
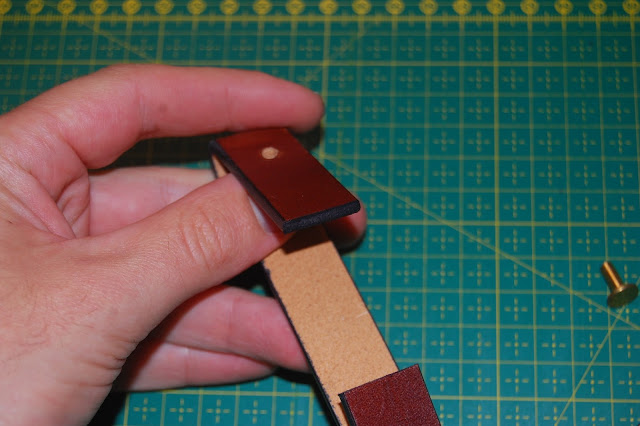
With the strap folded you can insert the screw to help hold the shape while drying. Also you can trim the ends but you should wait a bit before you trim to the final length.
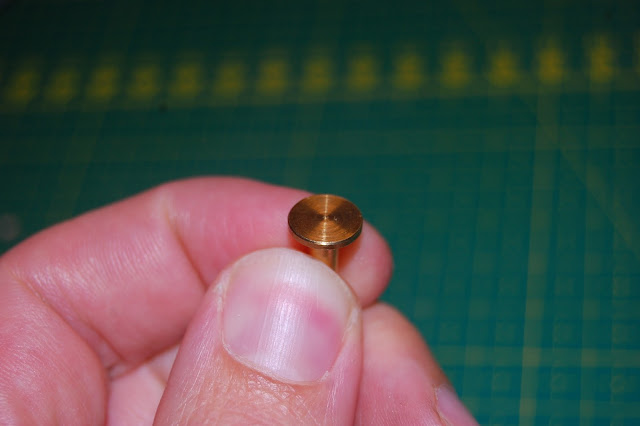
The chicago screws has a finish that leaves much to be desired. Hit them with fine grit sandpaper and finish with a polishing and you will be able to see your own pretty face in them.
Top straps cut out.
 Place the iron strip so that the holes you use are an even distance from the center. I use the lines on the cutting mat. Alternatively just measure the distance between the holes.
 Mark the hole position with a awl
 Wing dividers are great to ensure even spacing
 Bevel the edge between the two holes farthest apart
 Burnish the edge.
 Punch the holes
 Yes its a hole.
 All holes cut.
 Wet the leather where the folds a going to be
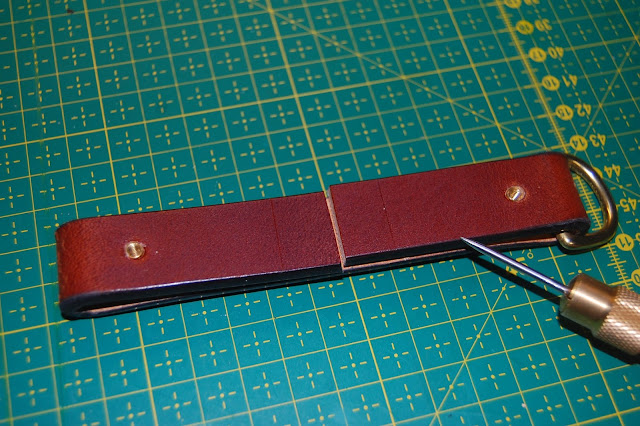
 Trim the ends. I find it easier to do this in two stages.
 Trim the ends so that they meet in the middle.
 Place a piece of strap and measure from the the holes to make sure that it is centered before scribing a line on each side
 Ready for cutting.
 Done.
Done.
 Dye the ends so that they don't stand out.
 Add marks where you want the stitching to end.
 And add marks.
 I like this shape but was not able to find it a D-ring.
 So I cut this of.
 Wow a D-ring!
 Not a great finish but as it is solid brass this can be changed!
 Grit 1000 using a back and forth motion
 Circular marks are still visible. spend more time on the 1000 grit
 Almost there...
 Ready for the next step
 Next in line is the 3000 grit. Rotate the screw 90º to get scratches across
 You can clearly see the scratches from the 1000 grit at the bottom.
 Done with the 3000
 For the final polish I use a dremel.
 Clean off the polishing compound with a rag.
 Some small scratches are still visible but thats okay.
 Much better. The one to the right is the polished one in case you were wondering ;)

I could not find a 20mm D-ring with a shape I liked but did I manage to find a nice buckle and with the help of a small bolt cutters the problem was solved.
I used the iron strip to mark where the holes on the top should be and then I use a wing divider to mark the "bottom" holes. When punching the holes make sure you are dead center or the edges will not line up when the strap is folded. To ensure that the leather will not crack in the surface when folded you need to wet it.
With the strap folded you can insert the screw to help hold the shape while drying. Also you can trim the ends but you should wait a bit before you trim to the final length.
The chicago screws has a finish that leaves much to be desired. Hit them with fine grit sandpaper and finish with a polishing and you will be able to see your own pretty face in them.
Top straps cut out.


Great ideas and detail...thanks for your time!
ReplyDelete