


A guy contacted me asking if I could make him a music bag similar to the one I made long ago: First music bag. On this one the gusset needs to goes all the way across and instead of using a wooden bar it will be solid brass. Also the dimensions needs to be changed.
The music bag is called a music bag because it was used to carry sheet music around. I don't know if it is better than other bags for this purpose but nonetheless that's whats is called. It can of course still be used for this purpose but if you are a rebel you can put anything you like in it.
The music bag sets itself apart from other bags with is't unusual closure that consist of a bar the interlocks with the handle. Very clever and very easy to open and close.
Finding the right leather is still something I struggle with. I choose to try out shoulders from metropolitan leather as the samples I got from them were very nice. Also the replied quickly on all the questions I had.
When I got the leather it looked nice although I did expect it to have a bit less growth marks than what seemed to be the case. Being shoulder you can not avoid these marks so next time I might order the butt which normally have fewer growth marks.
Materials & tools:
- 2,5-3 mm leather
- 1,5-2 mm leather
- 2 x ø12 mm brass ball with M4 thread
- 21 cm of 8 mm brass rod
- 432 lin cable thread
- dye
- leather conditioner
- Loctite
- Renaissance wax
- General leather working tools
- Metal turning lathe
- M4 Thread die
- Brass polish
The pattern will come at a later time.


When leather has been dyed it will curl up when drying. To prevent this I tried to flip it over and put a cutting mat on top:
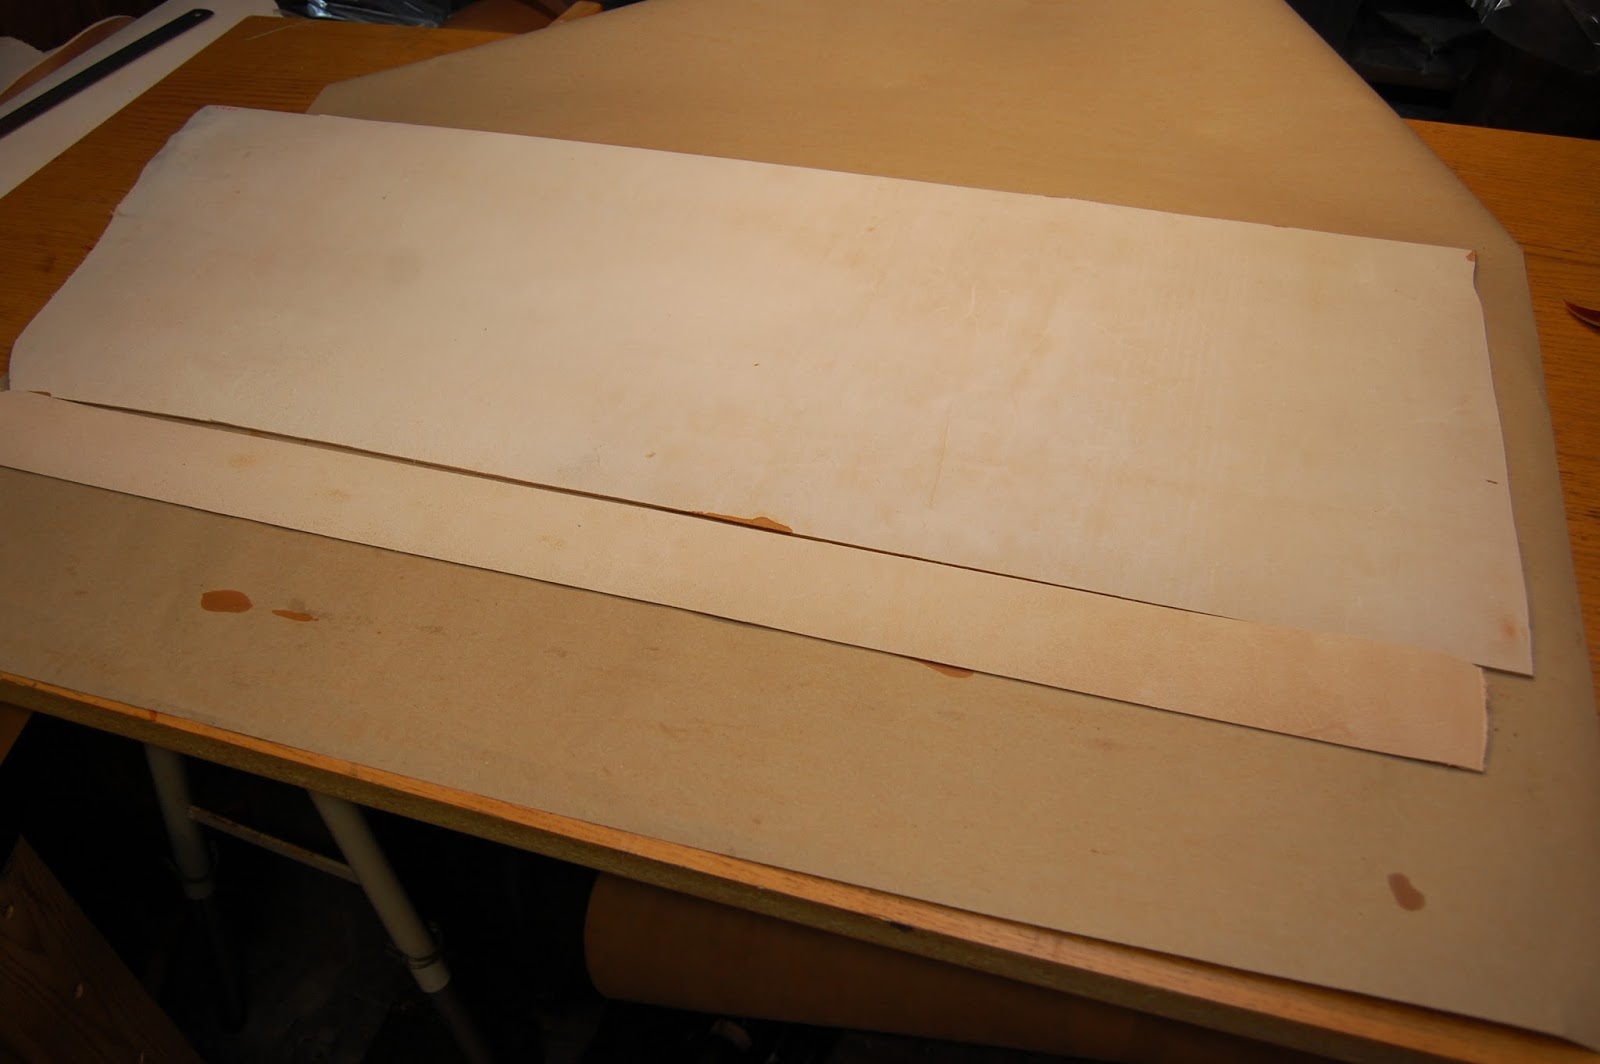

As you can see on this image the leather is totally flat. Especially the gusset would have been really curly but now it is as flat as it was before dyeing.


Cut the main piece to size


Round the corners


You see that the transition from the curve to the straight edge is not totally smooth?

I use sandpaper to even it out. If the transition is not smooth your bag will look cheap!


Scribe a line for the pricking marks. I hold the piece in place with a ruler

Make two "spacers" 3 cm long and glue them to the straps


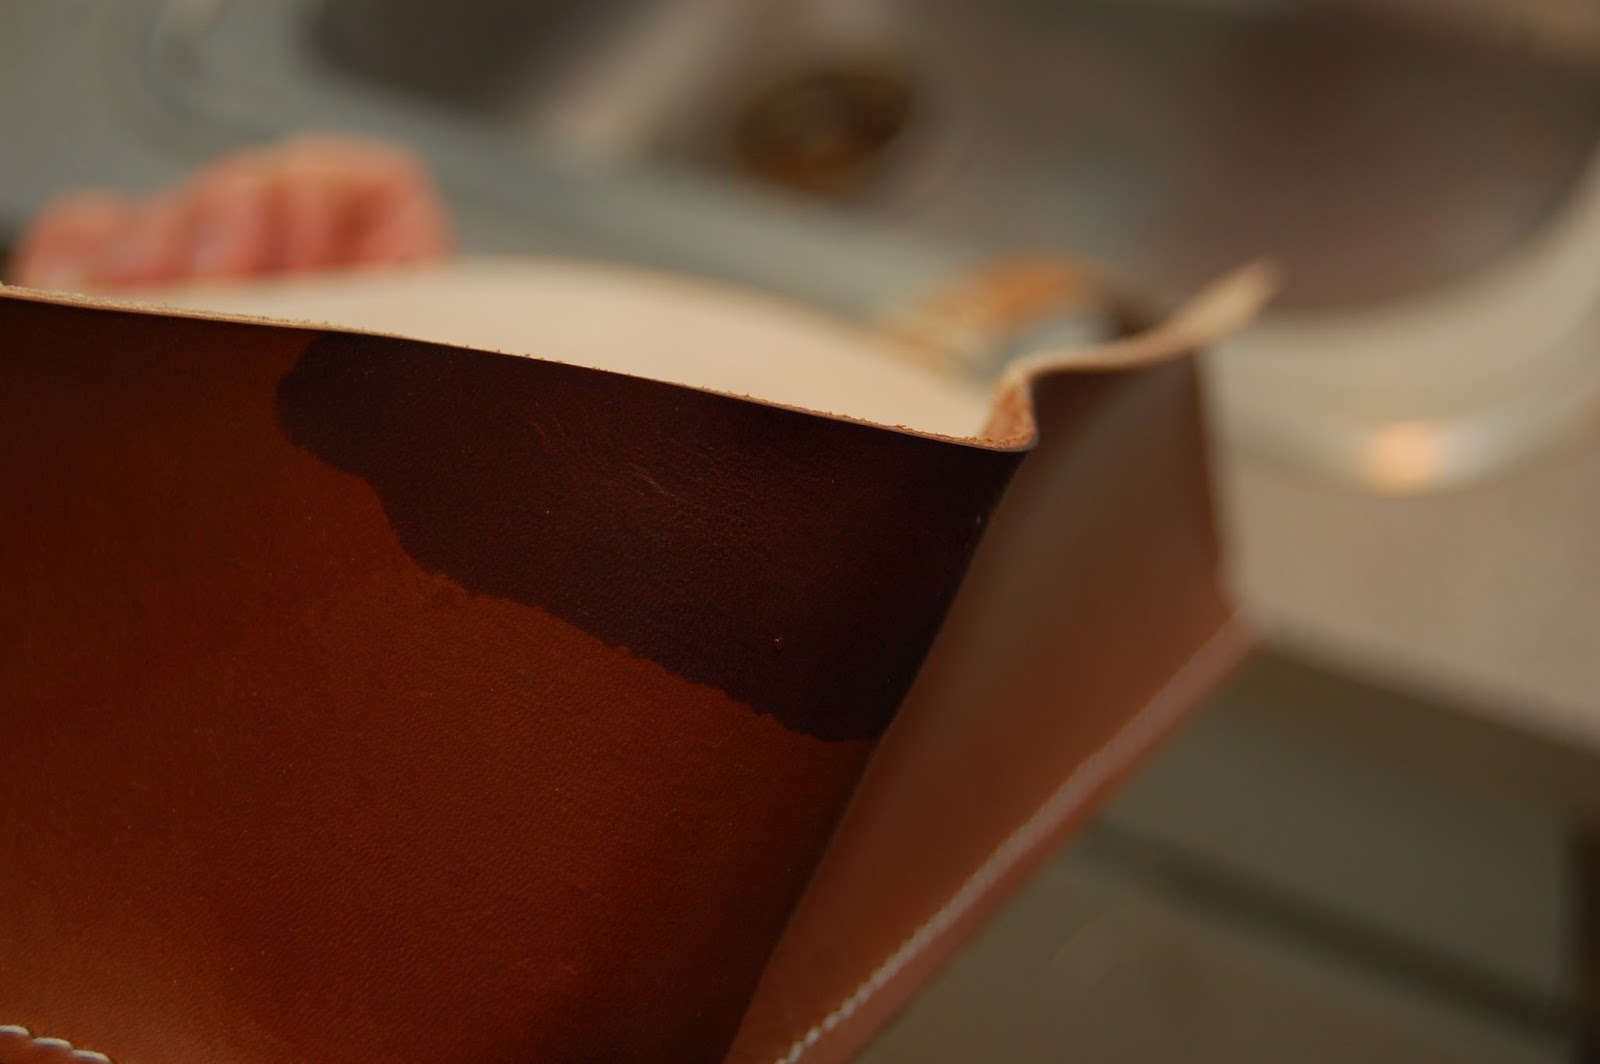
Dye the back side


Start sewing 16 cm from the tip.

Stop when you come to the hole before the spacer

With a new thread start sewing in the last hole that goes through the spacer but force the needle out between the two layers


You will end up with this:


Burnish the top edge of the front piece


When making custom bags you make the pattern along the way. One of the parts that I struggle with the most is determine the length of the gusset. In theory it shouldn't be that hard. It is simply a matter of calculating the length of three sides on the front piece where the gusset will be attached. In this case the length is 82 cm. One might think that the length of the gusset should be 82cm. That is however not the case. It must have something to do with the corners. Maybe you stretch the leather a bit when gluing it down or maybe if your are not completely aligned with the edge you end up with extra material in the end. That was what happened to me. So exactly how much extra materiel did I end up with? 2 mm? 5 mm? no.. 8 mm too much! That is a lot so the only option is to cut the extra material off. Next time I will do as Al Stohlman suggest in his books. Before trimming the ends of the gusset you glue it in place using rubber cement and mark where the ends are. The rubber cement allows you to take it apart afterwards.


8 mm too much.. bummer


When I sew the front to the gusset I did it with one thread. The rule of thumb says that the thread needs to be x4 times longer than what you need to stitch. In this case that means 3,2m. The only real advantages of only using one thread is that you avoid the double stitches that occur when changing thread. I will not be stitching that long a stretch again with only one thread.
Thats a long thread!

Want to see how I sew? Go here: Sewing


This handle is not the actual handle on the finished bag but the principle is the same. The finished handle does however not have a rope inside. It is hollow but the leather is to thick that it appear round.


The first 13 holes on each side are stitched to the bag

Note that the holes are made in different direction so that they will line up when you sew them


Wet the entire handle to prepare it for bending and shaping


Shape the end so that it lays flat against the table

Tie a piece of rope around the two ends to keep the shape while it dries


The holes at the top are made at an angle:


Measure the width so that you know how far apart the straps should be. In this case 15 cm

I made two marks 15 cm apart 8,5 cm from the top. These marks are not where the tip of the strap should be. Instead it is the side of the strap at the top of the "spacer piece"


The first stitch is a bit funny. With the left needle you go in between the spacer and the strap and out to the front. The right needle goes all the way through the strap, spacer piece and bag.


Luckily we have a small lathe at work. Making the brass bar is pretty simple


Nice art I love these kind of handbags.
ReplyDeletewow.... you have great ability.. from south korea.
ReplyDeleteHi, great work! I was wondering if you were willing to sell the hardware for these music bags - I don't have easy access to machine shops where I am. I'm really interested in both Brass and Copper, and would love to get a quote from you.
ReplyDeleteHi, Thank you. Unfortunately I no longer have access to a lathe so I'm afraid I cant help you.
DeleteThat's a shame, but I understand. Thank you for the prompt reply!
Deletewow, beautiful bag!
ReplyDeletebrilliant work.
ReplyDelete