

I have made a sharpening jig for a round knife before as you can see here. The design was inspired by the apex edge pro. This time around I will base the sharpening jig around the wicked edge. Even though the first jig is able to put a decent edge on the round knife there are still too many "unknowns" The biggest problem as I see it is that you need to move the stone and the round knife at the same time. This will result in some unevenness in on the edge if you do not do it exactly the same each stroke.
With this new design you take out the movement of the round knife completely. The design is based on the wicked edge after seeing this video where Clay Allison sharpens a round knife. The wicked edge is not designed to deal with a knife like the round knife so he has to sharpen it in two sessions as he needs to reposition the knife. Being able to have the base of the swivel rod in the center line of the round knife will solve this problem. The repositioning of the knife is not that big of a deal and I could live with that.. The price on the wicked edge is however insane. As I have not been able to find a European deal I would have to buy it from he USA. The standard package is 299$ but that only goes to 600 grit. You would at a minimum need the pro pack I costing 425$. Adding to this is shipping, 25% in VAT + 12% customs + 23$ in customs fee. I dont know what the shipping is but the total without shipping comes in at a whopping 605,25$. I am not willing to spend that much on a sharpening system at this point.
For further inspiration as how to make the jig I watched these two videos Wicked Lansky and Lansky sharpening system modified...
They both use the lansky sharpening system as a base but uses universal joints and socket extensions bars to guide the sharpening stones. I almost bought the lansky system but came to the conclusion that the clamp would not hold the round knife very well. Also with the wicked edge system you really need two stones of each grit. Instead of the stones I will be using 3m micro finishing film and 3m lapping film using the "scary sharp" principle. The most informative site regarding sharpening that I have ever seen is this one:
http://www3.telus.net/BrentBeach/Sharpen/sitemap.html
Brent Beach really likes to sharpen plane irons using 3m paper with a simple but effective jig. Everything he says is well documented and often very controversial. The best quote from the site is this:
"It is my view that a freehand sharpener decides that freehand sharpening works when they have sufficiently mastered their tools that they are able to produce acceptable work with dull tools. They don't learn to freehand sharpen, they learn to use dull tools."Before I read Brents site I did not like free hand sharpening. I knew that getting a truly sharp edge requires a very accurate and consistent angle while honing - something that is simply not possible for a human. I do believe that some people can sharpen a blade so that it is very sharp but it requires a lot of practice. I would rather work with leather than practice my sharpening skills -therefore I use jigs if possible.
Just another quote from Brent Beach (I really like this one to):
"As in the case of stropping, if you are able to touch up a blade and return it to its original sharpness, then you must not have started with a sharp blade."If you do not agree with this statement go read Brents page and then prove him wrong!
Now to the actual jig. What you will need is the following:
- 2 x 1/4" 9" Socket extensions bar 8,5£
- 2 x 1/4" Universal Joint 2,1 £
- miniature sash sach clamps 6,57£
- 3m paper 22,77 £
- Glas blanks free
- Brass tubes 6,3£
- Angel iron 2£ kr
- nuts and bolts 1,5£ kr
- mdf free
- strips 2£ kr
- contact cement free
51,7 £ total or 75$
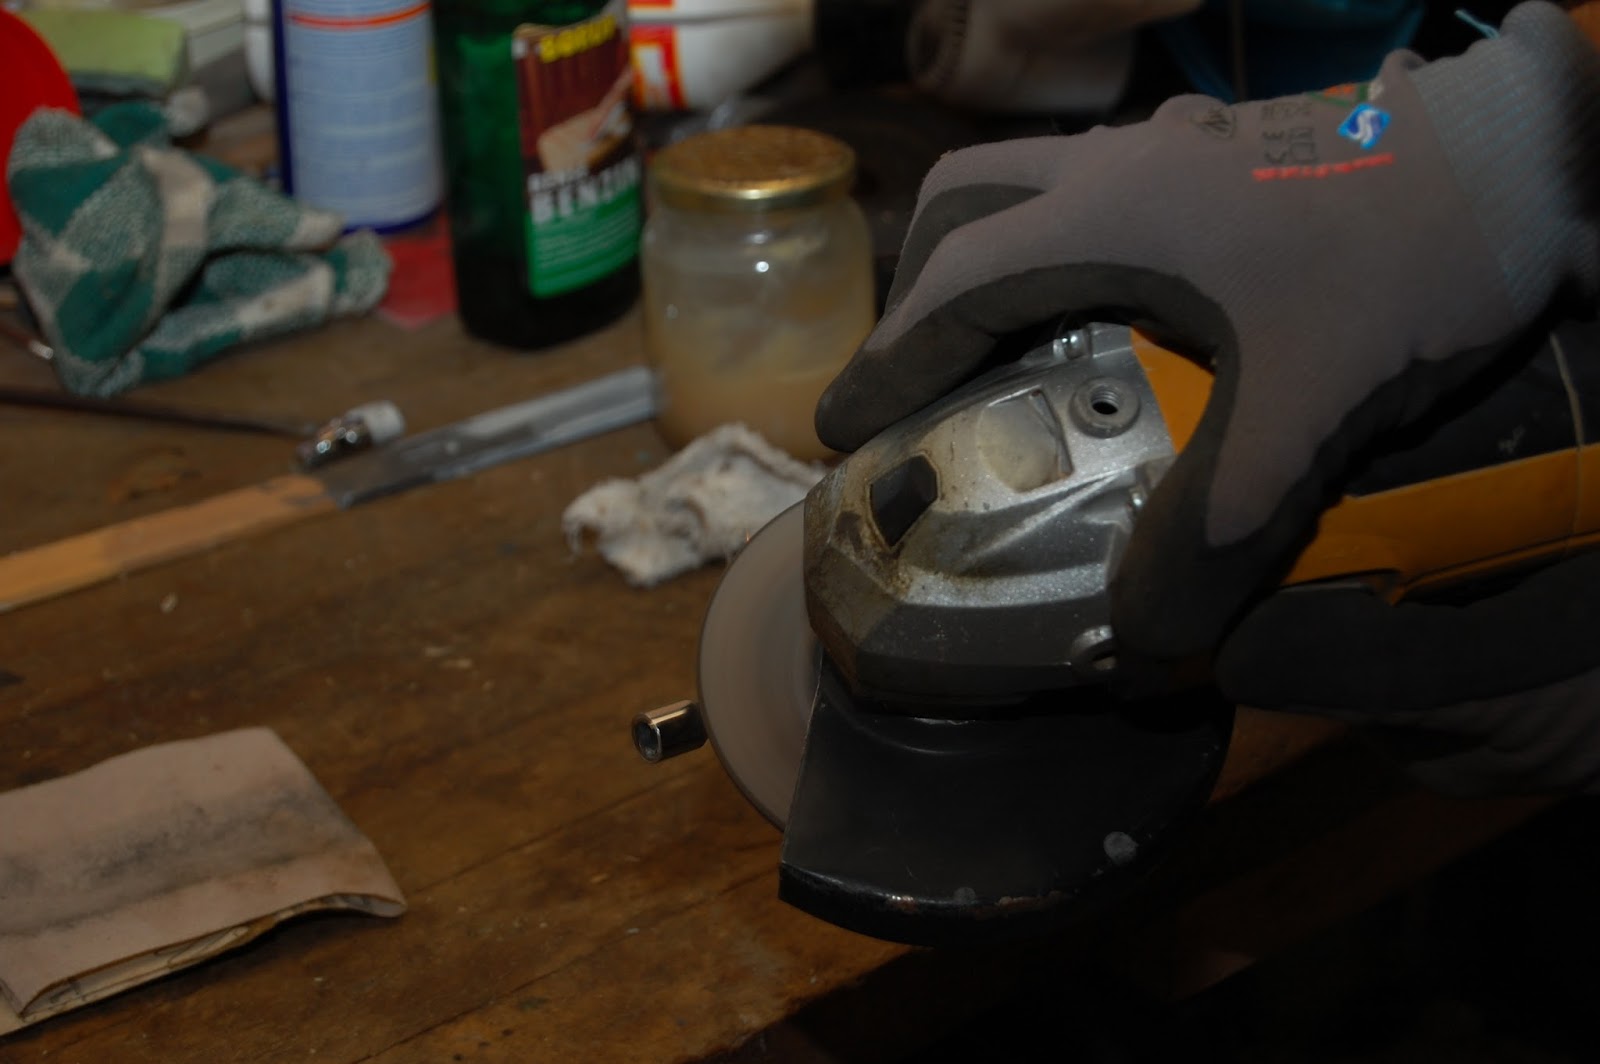
The extensions bar had a diameter of around 8mm. I found brass tubing with an internal diameter of 8,1 so I figured that it would work. When I tired to slide the tubing over the extensions bar there wasn't much sliding so I had to grind down the extensions bar. I used an angle grinder for the rough grinding and normal sandpaper for the touch up.
The extensions bar was placed in a drill:

While the drill was running the angle grinder was used

Finishing with sandpaper

The MDF is 20mm thick and cut to 1,8cm x 15 cm. The glass is cut to 2 cm x 15cm. You can see that I did a test piece just to see if it would hold up... It did!

The contact cement is applied and sit to dry

Put it all together so that the MDF board will sit in the middle of the glass. Put it under pressure overnight

I bought 1 x 100micron (not shown here) 2 x 15 micron 2 x 5 micron and 1 x 1 micron. This should be enough for a long long time.

Cut strips and remove the backing and stick it to the glass

All done:

As I plan on using zip ties to secure the brass tubes I need some holes. You might want to drill them before you put on the paper.

The brass tubes are cut to 15cm. You cant tighten the zip ties too much as it will deform the tubes. I did this at first which resulted in that they did not slide smooth on the extension bars. I loosened them up a bit which solved the problem.

This is glued in place with epoxy. I might do this with all of them at a later point.

The difference between the 100 micron and 15 micron was too big so I had to improvise and put on some 400 and 1000 grit sandpaper on top of the 15 micron. It actually worked really well.

To be able to change the angle I bought these clamps thinking I would attach the universal joint to the sliding plastic part. That did not really work so I had to think of something else.

I have access to a 3d printer so I decided to make my own parts.

As I'm still not completely sure that this setup is the best I used a glue gun instead of epoxy to glue the parts together. Without glue there is too much play.

All glued up:

The bottom of the extension bar widens so the brass tubes got stuck. To solve this problem I simply cut a narrow piece and put at the bottom

Now nothing gets stuck

I cut threads in the sliding part and use the screw to hold it in place:

An angle bracket holdes the knife in place. On the other side of the bracket I use some small steel plates. They are too flimsy so I will buy another angle bracket and use that instead. They would have been okay if I could have used the top hole but then


The angle bracket is held in place with screws and wingnuts:

This is a view from the bottom

The knife is placed right up against the angle bracket and the screws are tighten


This setup will not work without some way of measuring the angle. I have an angle cube which has magnets. You can use your smartphone but it is difficult to hold it in place. This shows setting the angle on the left side. You have to do the same on the right side as the blade is not at a perfect 90º


So does it work? In short - Yes. There is however room for improvement.
There is too much play in the joints. Using epoxy would solve some of the issues but in order to get totally rid of it I think I need to print new sliding part and change the square bar to a round one.
The angle bracket has a little give in it so it needs to be strengthen.
The distance from the pivot point to the top of the blade is not the same as the distance to the tips. This causes the angle to change. I did expect this but I did no do the math to figure out exactly how much it would differ. I looks to be a fair amount so this is something that could be improved.
I am actually considering if it is possible to make a jig much like the one Brent Beach uses. It would have to be rather flat as it needs to be one the blade right above the ferrule. It needs to have same profile as the knife. I'm hoping that i would be able to 3d print something and hold it in place with magnets.
I read your blog very attentively. This is very informative post.
ReplyDeleteThis is a few years old, but I was trying to come up with something similar myself. I have used a Lansky for many years. Haven't found anything better. Used it on a few round knives, but it's not ideal because of how it attaches to the blade. You have came up with a very nice design. Wondering if you fine tuned your set up, or made any improvements? Thanks for sharing your idea.
ReplyDeleteChad
i have actually made two different systems after this one.
DeleteThis one is very precise but the stroke length of the stone is just too short. Also it’s very small compared to the others http://andersenleather.blogspot.com/2016/08/round-knife-sharpening-jig-version-3.html
What I currently use is more similar to version 1 but with some changes. The concept is the same as this one but made from wood and parts from an apex clone. If you like I can make a small post about it.
Are you a programmer? this is a programmer's mind
ReplyDeleteNope not a programmer ;)
Delete