


This time the design was the same as the "standard".
The main differences are:
- The handle cover was cut a bit different.
- The gusset dimensions was changed to fit better.
- I used the new "ebay" pricking iron
- I dyed the leather using a big applicator
- I used my new polishing machine to sand and burnish the edges
Ready to dye:

The applicator is a piece of wood covered in plastic with a t-shirt nailed in place. The t-shit is folded several times.

It soaked up a lot of dye making the dyeing job a bit faster than with my normal method

The applicator was wider than the width of the gusset which made it a bit harder to use. It would be better to have a applicator the same with as the gusset.

I dragged the applicator along the edges which meant that they got darker. This was corrected by applying another layer of dye focusing on the middle part.

Here is the big piece all dyed. It has some streak along the center which I also tried to correct but it must have had something to do with the leather as it did not disappear after a second coat.

The applicator worked out okay but there are room for improvement. After dyeing the two pieces my forearm was really sore and I had problems holding on to the it. I guess this was due to the fact that you hold it with your fingertips. Putting on some kind of handle would solve this. Also it did not help that I had to lay on my knees the hole time.
All the main pieces cut after conditioning

The handle was cut a bit different this time. The length of the part where the D-ring is was made a bit longer and also the total length of the handle was shorten a bit.


This is just some progress pics of the handle


Scribing a line og the back side makes it so much easier to ensure that the awl is exciting the right place.


The way I skive thin strips of leather for the belt keeper:


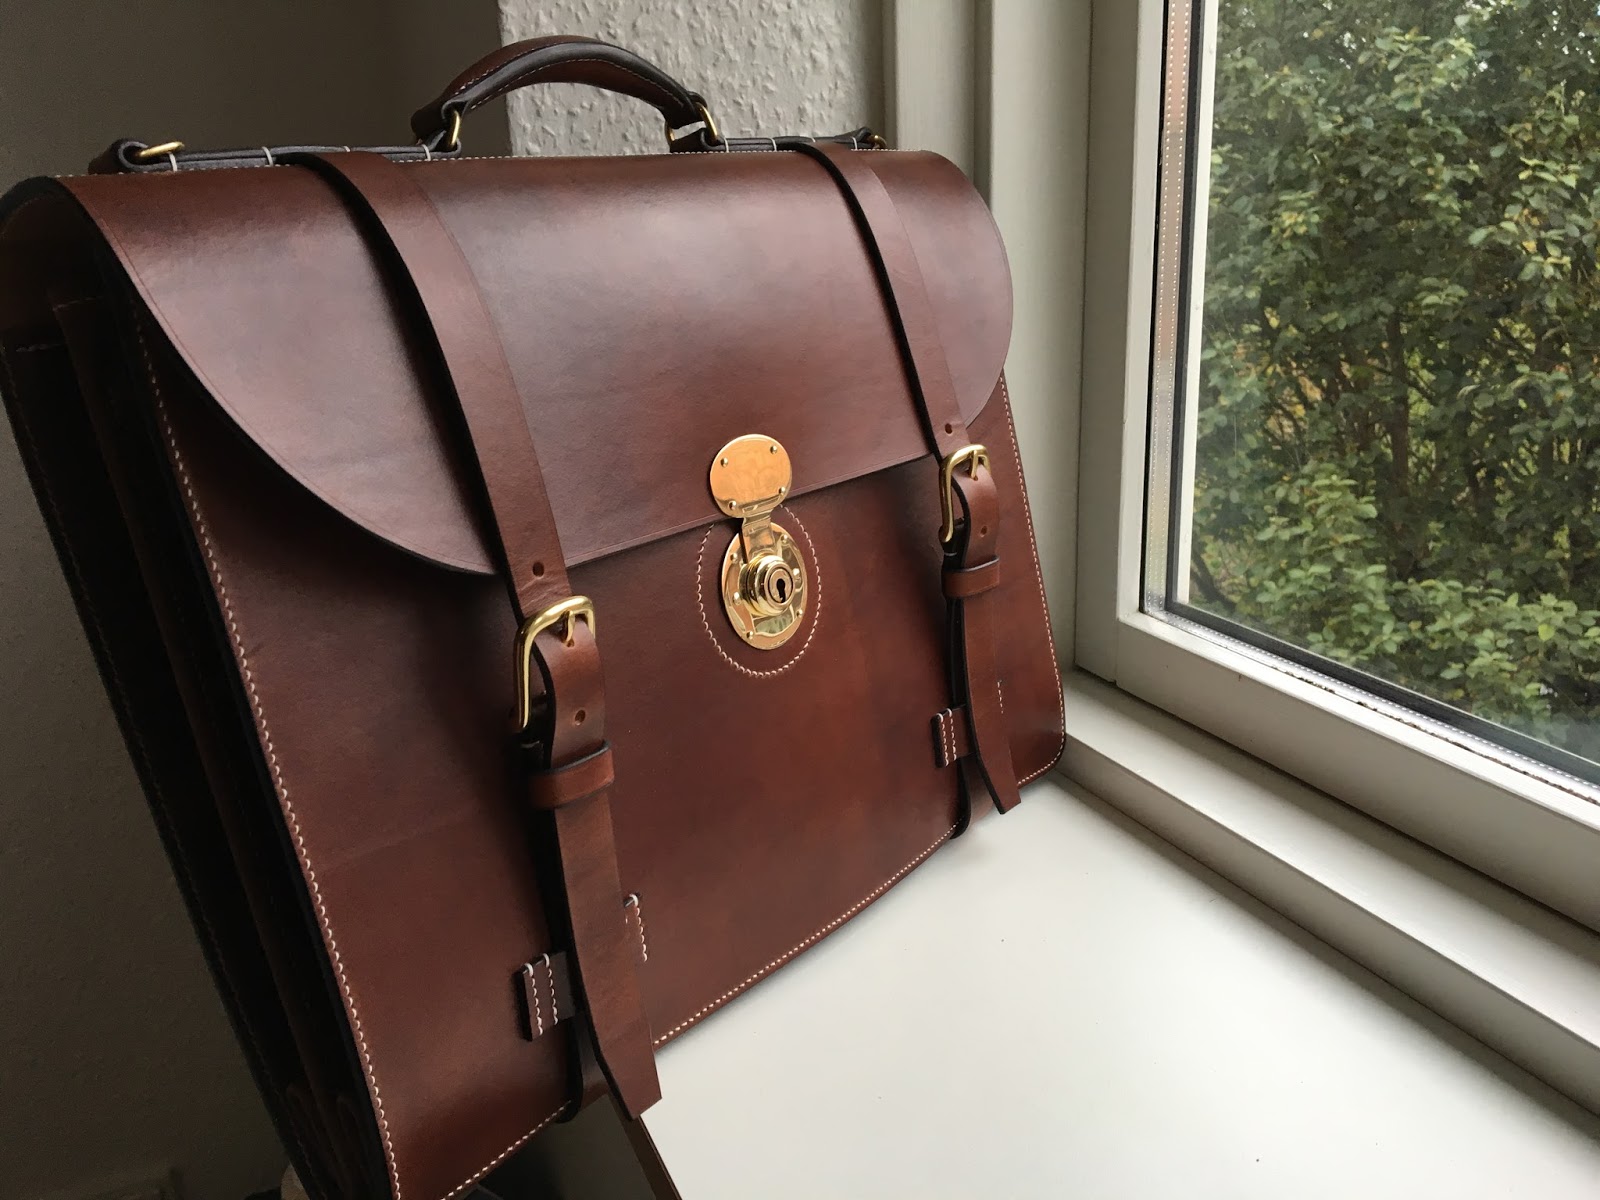
In the right hand corner you see the polishing machine I use for burnishing, I will make a post about that in the near future:


An idea for your dyeing block, find an auto paint supply shop. They have block sanders that could be used. Not to mention they might have a few other things that can be modified or not used as intended.
ReplyDeleteThanks for the advice. I will look into that :)
DeleteTip:
ReplyDeleteIf using water based dyes, case the leather, the dye will have less streaks.
The same if you use a light coat of mink or neatsfoot oil for spirit and oil dyes.
Think of it as preventative maintenance for the leather.
Happy leather crafting.
Love the handle, how did you go about raising it?
I heard that before but putting oil on the leather before dyeing does not make much sense to me. Also I dont think that oil dyes is a thing? Fiebing’s Pro Oil Dyes does not contain any oil according to the data sheet: https://www.rickert-werkzeug.de/media/pdf/Pro-Oil-Dye_Fiebing_GHS_SDS.pdf
DeleteIt makes sense as oil and alcohol dont mix.
That being said I might try in on some scrap just to see if does actually work :)
the handle has a filler inside.
andersenleather.blogspot.com/2015/10/handle.html
This comment has been removed by a blog administrator.
ReplyDelete