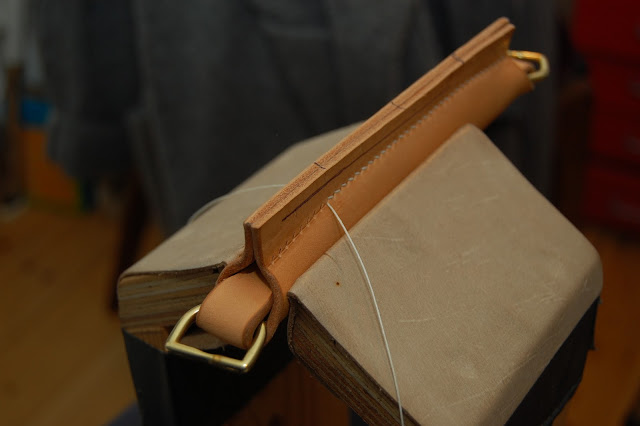
The edges were burnished
The end was skived down
Depending on how the flesh side of the leather is you might want to sand it a bit to ensure a better bond when gluing
The filler is made of several pieces of leather glued together.
Then length of the "connector" piece can easily be determined like this:
Before riviting remember to put on the D-ring!! I made this mistake twice as I had to redo the first handle I made.
Trim the rivet:
The first rivet is easy to install. The second is a bit harder.
I then glued the connector piece to the filler. Before gluing you should round the bottom edges of the filler.
Now you can shape the filler. I used the safety skiver in the background.
Wet the handle but not the filler
Shape it around the filler
Use clamp to hold it in place while drying. Make sure the clamps are not to far down as they make nasty marks on the leather
When dry you can mark with a pricking iron. The holes are not place super accurate but that will even out when the handle is bend.
Place it in the stitching clamp and sew it
Making a line on the back side where the holes should be makes it much easier to control the exit point when stapping the holes with the awl
Now you can trim the excess of. This is where I messed up the first handle. I cut it too close to the stitching and the handle was ruined.
Now you wet the hole handle and bend it to the desired shape.
While the handle is drying tie a string between the d-rings to maintain the bend shape. Also don't let it lay on the cutting mat to dry as it might transfer green color to the wet leather.
The top handle is the one I messed up cutting too close to the stitching. I decided to make the second handle ever so slightly thicker and a bit less curved.
From "hole" to "hole" measures 13 cm


Nice handles, I can imagine how much time went into creating this little piece.
ReplyDelete