


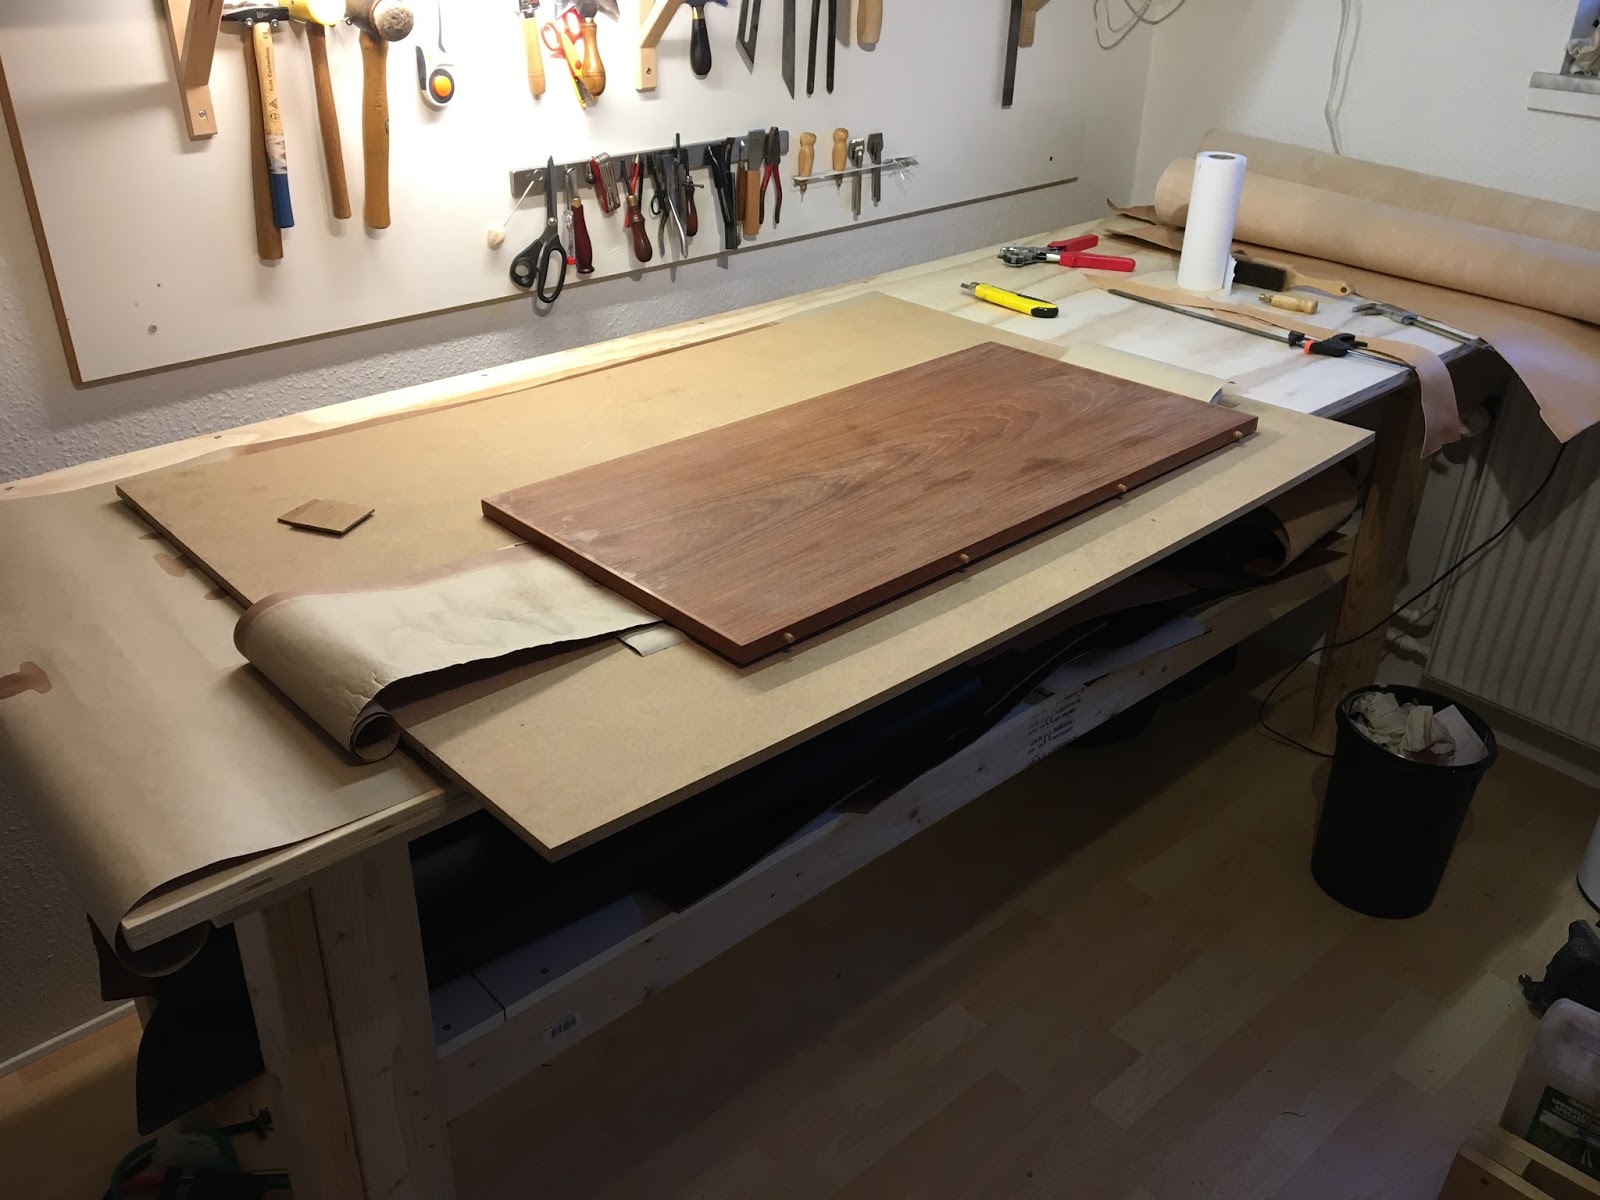
After getting the leather the next step is to determinate where to place the pieces. As leather is never perfect you want to avoid any major defects and try to stay clear of any imperfections - but not at all costs. Sometimes the design of the piece you are making allows you to hide some of the imperfections and if that means that you are able to make better use of the remaining leather that is the option I choose.

I mentioned in this post that it's kind of fun to dye leather. Having just dyed the leather I would not describe it as fun. A more appropriate term would be nerve wracking. Especially as I this time dip dyed the leather, something I have only tried once before.
After the dyeing I put a sheet of MDF on top of it to prevent it from curling while drying. On top of the MDF I put the gusset and handle and another piece of wood.
After the leather had dried the color was lighter than what I aimed for. I therefore dyed it again but this time I applied the dye using a rack. The leather was still not dark enough so I choose to add a bit more dye to the mixture so instead of a 1:1 ratio I tried a 1,5:1 (dye:alcohol). I have had this problem every time I dye big pieces of leather. When I dye small samples the color is darker than when I dye big pieces with the same dye. The problem might be that the big piece does not get enough dye but that is kind of ruled out when you dip dye. Maybe the color actually is the same but it just appear lighter on a big piece.

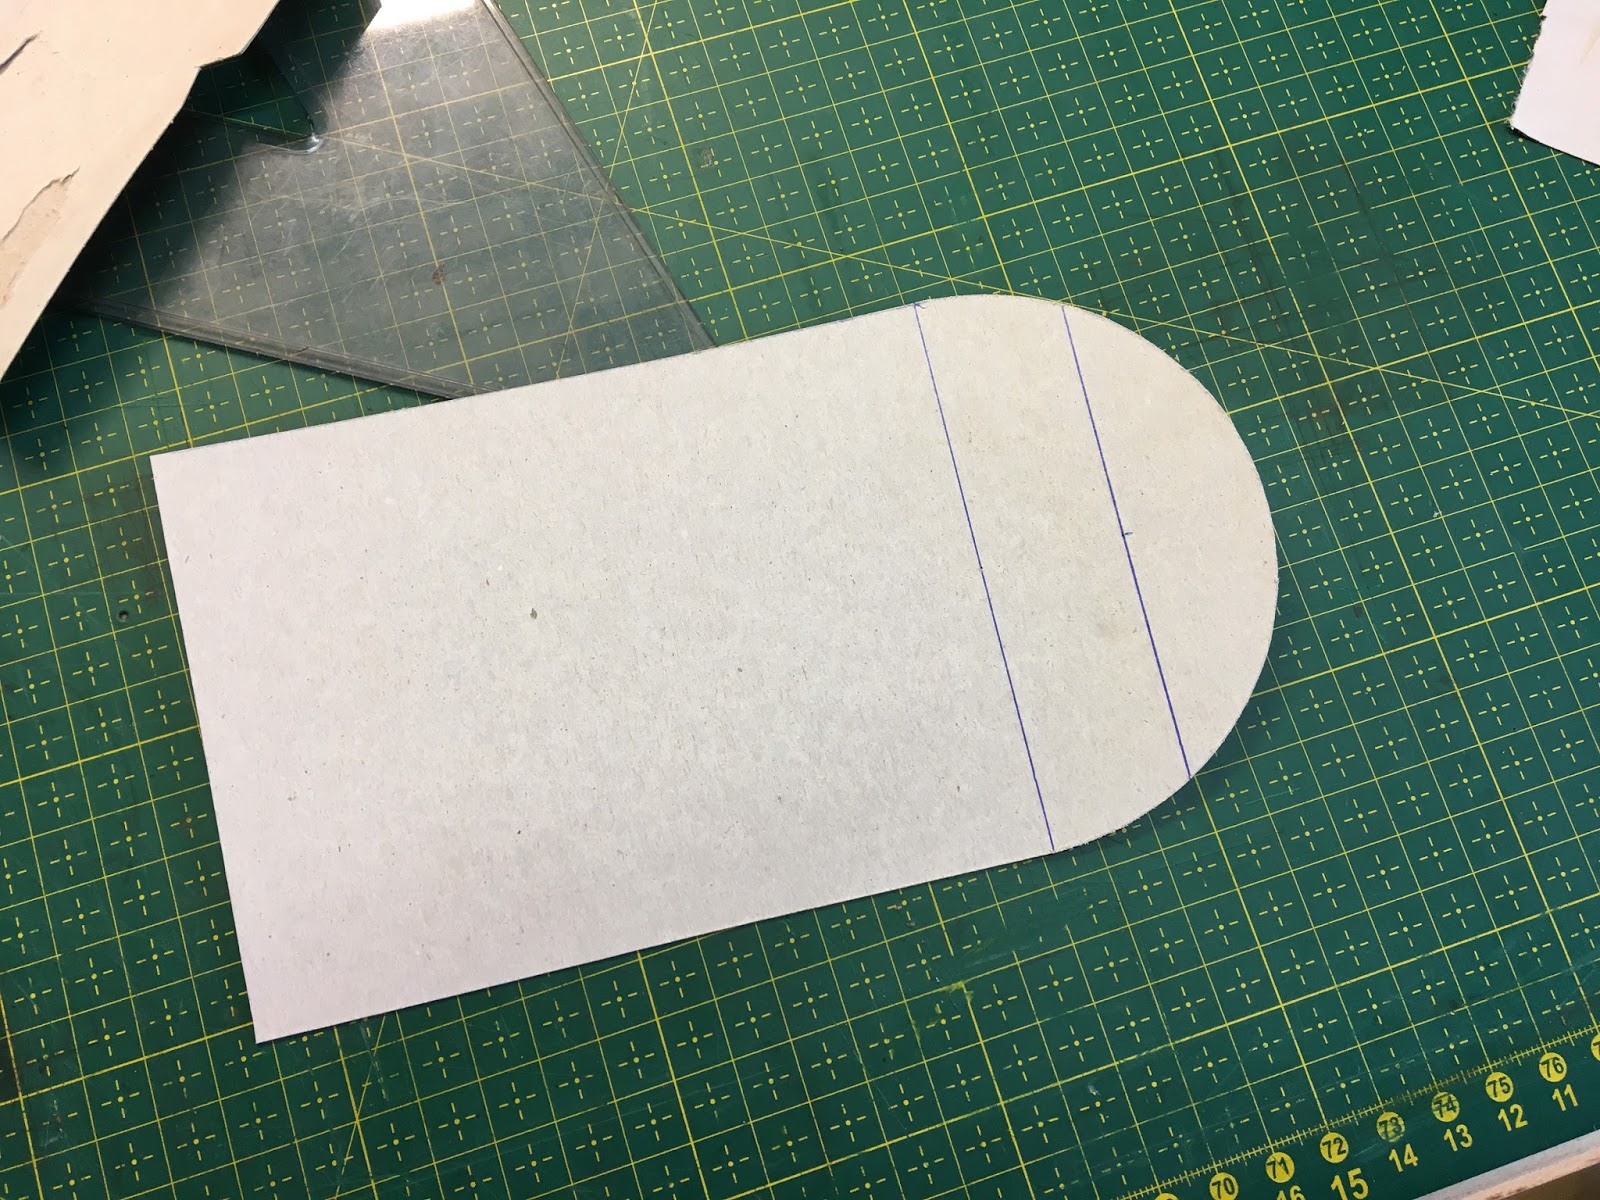
Pattern

Gusset
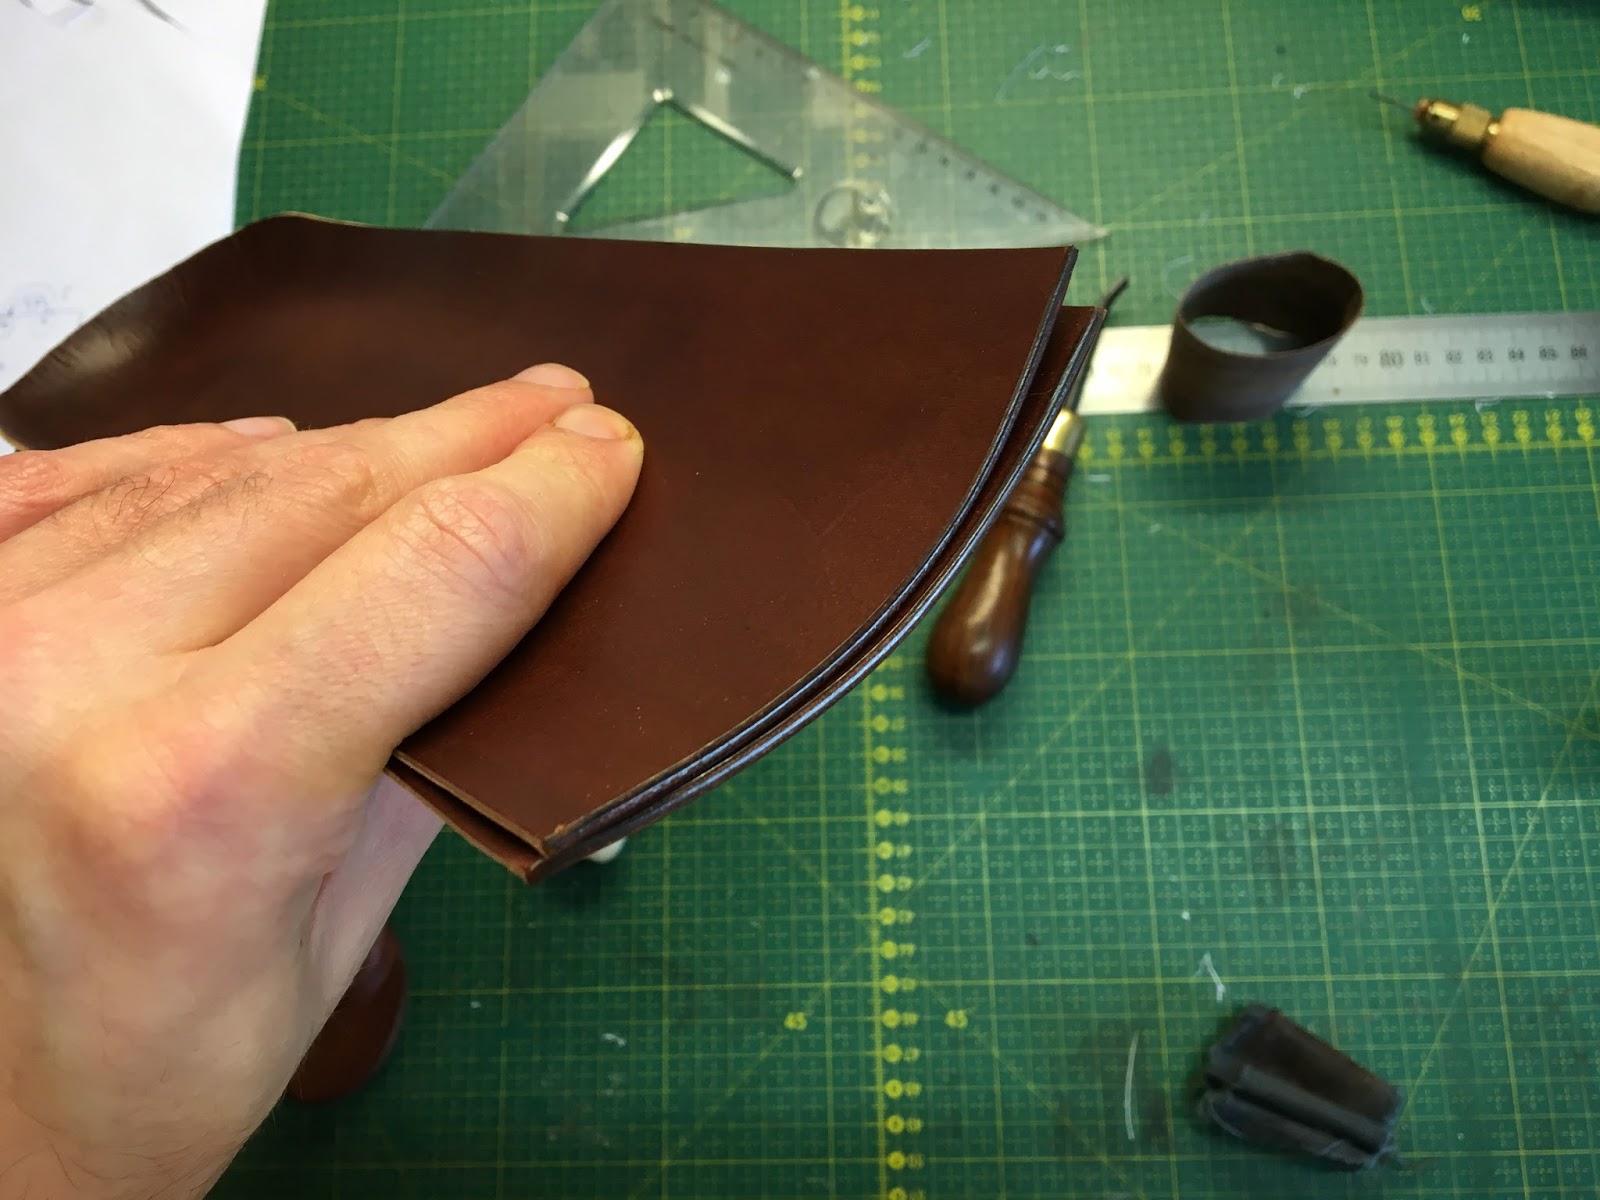
I first cut the gusset and then the lining. Its both made from the same piece of leather but one is dyed. The lining was cut 2-3mm oversize before the edges was skived. I did not skive the top edge as I want the edge to be as thick as possible to make it easier to burnish. Also the gusset is cut too long as I don't know the correct length yet.Template for the gusset


All skived

I the applied contact cement to everything and glued it together

I then trimmed of the lining using a rotary cutter. As you can see the lining is thinner but I would have liked it to be even thinner.

Front and back of the gusset

We have a condenser tumble dryer which produce a lot of water which contain no lime. Our tap water contains alot of lime and I think it show on the leather


I submerged the gusset for a good 10 minutes

I then shaped it over a block of wood


I let them dry like this


For some reason I ended up with these stains on the leather.


I then did a test fit to determine the corect length of the gusset.

I was 1 cm too long so I cut it to length.

Now everything look good.

Before sewing the top of the gusset I burnished the top edge.

To determine where the horisontal stitchline needs to be I decided to glue one gusset on as using clips isn't that accurate. Instead of contact cement I used rubber cement which can be easily be taken apart.

This worked surprisingly well. The rubber cement held everything in place without any issues.


I sanded them at an angle towards the edge to make it a bit thinner.

Handle
The handle is made from 3mm leather and as I only ordered 1,0-1,2mm and 1,4-1,6mm I had to use a scrap I had lying around. I did make a test of the color and it ended up more or less the same color as the rest.


A total of 37 holes (a center hole at the tip and 18 on each side) (the pictures only shows 35 as this was the first handle I made which I had to remake. More about that later)

Use a square to make sure there are the same number of holes on each side. I should also mention that one side is only lightly marked with the pricking iron. This is because that one side should have reverse holes.

Sometimes you are lucky that the first and last hole lign up.

If you are not, I used this contraption to even out the last few holes.

This small attachment to the dremel makes sanding the edge prior to applying contact cement fast and precise.

All the holes are punched with an awl. One side is normal the other side is reverse.


This is where it gets interesting. The black cord is an elastic cord with a diameter of 10mm. I have stretched it as much as I could holding it in place with two clamps. The diameter is now down to 7,5mm. This makes it much easier to wrap the handle around it. You might ask "why didn't you just wet the entire handle making it more flexible and easier to sew around the rope"? If I did that then it would not be possible to apply cement to the edges which gave me this result some time ago:
VIDEO af håndtag der ikke er limet
Here the cord is stretched and one clamp holds the board to the table.

Sewing is relatively easy as the cord holds everything in place

The next day I completely wet the handle to prepare it for forming

The excess cord was removed using a chisel


First the handle is bend. Make sure the best looking stitching is facing upwards.

I then made the hole for the brass washer

The brass washer was bought with a diameter of 12mm and a hole of 1 mm. The diameter was too big so I sanded it down to 10,5mm and the hole was drill to 3mm


I made sure that the handle was press inwards as it naturally wants to go the other direction.

This is where the handle needs to be in order for you to be able to hold the handle while the bag is closed.

In order to have the stitching line going across the bag the handle needs to be placed further down. This means that the handle is too short.

Here is the new handle next to the old. I looks much darker because it is wet. I made it 4 cm longer and moved the rivet 8mm upwards. Moving the holes up meant that I needed longer rivets. I couldn't find any with the same diameter 2,4mm (3/32) so I had to use 3,175 (1/8) instead.

A test fit

To sew the handles in place I used the nut and bolt to secure it to the bag.

This made it easy to punch the holes.


Sewing it was a pain in the ass as the long piece of leather is hard to control while still being able to sew.

Before the rivets was cut to length

I sanded the rivet after it was peened

I almost forgot to sew the vertical line in the handle but I remembered before I glued on the lining.

Main Part
The stitch line really doesn't serve a purpose as the lining is glued in place. On the original bag the stitching goes through both layers of leather and I guess it helps keep the lining in place. I decided not to sew through the lining.

The lining leather is cut to shape a bit oversize.


The outline is marked

The flap section will not be skived

The edges was skived
I drilled holes in the metal bar to match where the rivets would go. The metal bar has not been cut to length at this point.

The holes was marked and punched. Notice that the stitching is very straight. The leather is only 1,6mm thick making it almost impossible to have a slant on both sides. As this side will be hidden I chose to have the slant on the front side. I archived this by not casting the thread.

With the handle and the straps in place the lining can be glued on. I first placed the lining on top of the main piece and then held it in place with a mallet on a piece for cork.


It will be glued on in 3 sections. First the back where the pocket is placed. I used much more contact cement than I had thought.

I placed wax paper and started gluing the middle and then removed the paper.

First section done

Now for the second section- the front.

I bend the bag in shape before gluing

This will help keep the shape without creating wrinkles in the lining.

Now for the last section - the flap

I glued it with a slight bend

Now the top edge needs to be sewn

Sometimes I wish I made wallets or other flat items. It would be much easier to sew. The top edge was difficult because I couldn't hold it in the clamp and the flap piece was always in the way. To make it a little easier I clamped a piece of wood to the table which helped alot.

Now the top edge needs to be burnished.

Before gluing I sanded the inside edges:

I placed waxed paper to help glue only a small section at a time.

I started at the front and worked my way down.

The bottom did not cause any problems.

After completing the bottom I decided to glue the other gusset. As you can see the gusset at the bottom is not fully glued in place. I glued the second gusset in place in this upright position.

Ready for sewing.

Before sewing holes needs to be made. Normally I prepunch the holes using a normal awl and a piece for cork as a backing. This time I used a contraption I have been working on and it worked great. Here is a little sneak peak. I will make a seperate post about it in the near future:
The result was pretty good. The sides are not that hard and normally I get a pretty straight line with the normal awl.

A curve like the one at the bottom of the gusset can be really difficult. As you can see the holes are very even which makes me very happy :)


Cutting the flap to length was a bit of a hassle. I couldn't really lay the entire bag on the table as the flap then wouldn't lay flat. The solution was to rest the bag on another lower table.

I used a template to trace the corners and the proceeded to cut it with a round knife. Also not that easy as the bag could not be turned while I did it.

Holes marked and punched.


The gusset was not completly straight along the edge

So the excess was cut off and the edges was trimmed flush.

The the edges vere bevled.

The edges was burnished


After each burnish the edges was sanded down again to get them as smooth as possible
Finding the right dimensions for the pocket was not that easy but I think I got it right in the end. To make it a bit easier to take the laptop out I cut out a piece of the top edge. I marked it using a wingdivider:


Very happy how clean it turned out. I cut it with the round knife using the "rocking" technique

Placing the pocket on the liner was also not that easy. I made a few wrong holes but nobody will ever notice unless somebody tells them.
From my initial tests I knew the distance between the two vertical stitch lines and the distance from these to the horisontal stitch line.

I then marked the end holes used the pocket as a template.
All the holes are marked with the pricking iron

I then gave the lining a treatment of leather conditioner

And proceded to punch the holes with the awl.

Sewing it on was a real pain in the ass. I started with the horisontal line which proved to be the worst one. If I could I would have attached a hook in the celling and use a string and clips to hold the leather upright. Unfortunately the celling is made of hard concrete and I don't have a rotary hammer which is needed. Instead I made this setup:


I did not treat the pocket with conditioner at this point as it needed to be wet molded later

With the sides sew in place the pocket bulges out quite a bit which I do not want.


I had this book which almost has the same dimensions as the 13" macbook pro that the pocket is designed for.

If I insert the book the pocket looks very nice but when the book is removed it pops back out

To keep the pocket in place i wet the hole thing and put the book back in.
At this point was wondering if I had made a mistake

I really really hope it dries to a uniform color. This is before the book was inserted

While the book was inserted I tried to form the leather around the edges to make a sharper bend.

When the book was pulled out the leather layed nice and flat against the lining

The pocket dried and the color went back to normal

Straps
The straps are made from two pieces of the main leather 1,5mm glued together. At the end a piece of 3 mm leather is glued and cut to size.


After cutting the access of I used the belt sander to align the edges. The belt sander is a new addition to my tool collection and it is proving to be very usefull. To get a smooth and consistant curve I press the piece agains the rest while turning it.

For a more detailed description of how to make these strap go here Music bag


To position the straps I clamp down the ruler.

And punched some of the holes

I tried sewing while it was hanging over the edge of the table and that work out okay.

Both straps sewn on but something looks off.

Danm! one strap is 3mm lower than the other.

Only one thing to do. Move the strap down.

The straps can now be sewn to hold the brass bar


Brass bar
For this a lathe would be the tool of choice but I don't have one. A drill and a block of wood work out just fine.. sort of.
With a file I got the end down to 6 mm.

I put the bar in a wice to make the threads but I couldn't get the cheap die that I have to begin cutting the threads. I then cut the diameter to 5,5mm and that worked. The wood left some turning marks on the bar but with some sandpaper I got a smooth finish. One end did get a few deep marks but they will be covered by the strap.

This is nothing short of extraordinary. The time, skill, knowledge and precision on display here is incredible. The results speak for themselves - this is a truly stunning piece of craftsmanship.
ReplyDeleteExcellent excellent work.
ReplyDeleteThank you very much
DeleteAnother excellent bag and description!
ReplyDeletePlease could you put your US mailbag on here?
DeleteThank you. The us mailbag is already here http://andersenleather.blogspot.com/2015/05/us-mail-bag.html
DeleteRespekt, Explained in great detail and done in great detail, a master craftsmanship
ReplyDelete