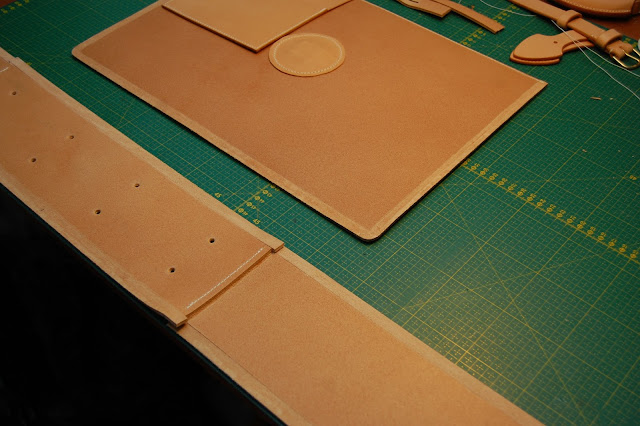
The front piece is very similar to this front piece. The biggest difference is that a pocket is added on the back side.
Here I put the lock where I wanted it to see if it looked okay.
A simple paper mockup of the pocket to check the dimensions:
The pocket is very simple. Two pieces of leather sewn together:
The pocket is glued in place but only at the very top where it will be sewn to the front piece.
A single line of stitches all along the top of the front piece.
The fitting of the lock can be seen here. Also check out how it set the rivets
With the inside edges of the front piece sanded down contact cement is applied al along the the edge on both the front piece as well as one side of the gusset.
Part of the gusset is overlapping so keep them separated while the cement is drying
Use wax paper to avoid the cement sticking where you dont want it to
The first side was easy
The corner before the bottom is glued in place
I wrapped the other side of the gusset in wax paper while it put the bottom in place
Now for the bottom
It looks like the edge of the sides are not aligned but they are.
Slowly remove the wax paper as you move along
And now go up the side
All glued in place
This is how I made the holes to ensure that the back side was as straight as the front. It did not work out as good as I had hoped but the result was still okay. At a later point I will show how this setup works.
Unfortunately the top of the gusset did not align with the top of the front piece.
I cut the excess off and burnished it again
All stitched
I used 3 separate threads. One for each side and one for the bottom. The transition between the threads are at the bottom right before the corner. Because of the combined thickness of the gusset and the front pieces the thread was cut 6 times longer than the stitch line. Normally 4 times is enough but not with leather this thick. The total thickness was around 7 mm.
Now all that is left to do is burnish the edges.


Excellent work, I would love to see that bag in a few years when it changes colors and creates a patina, thanks.
ReplyDeleteThanks. Yes I also look forward to see how it develops a patina.
Delete